Overview
Introduction
The Overview page is the first page that appears when looking into a customers account. From here, Services and Holds can be seen and added to the account. The Customers Balance and Quotes can be viewed here as well as the ability to add tasks to a customers account
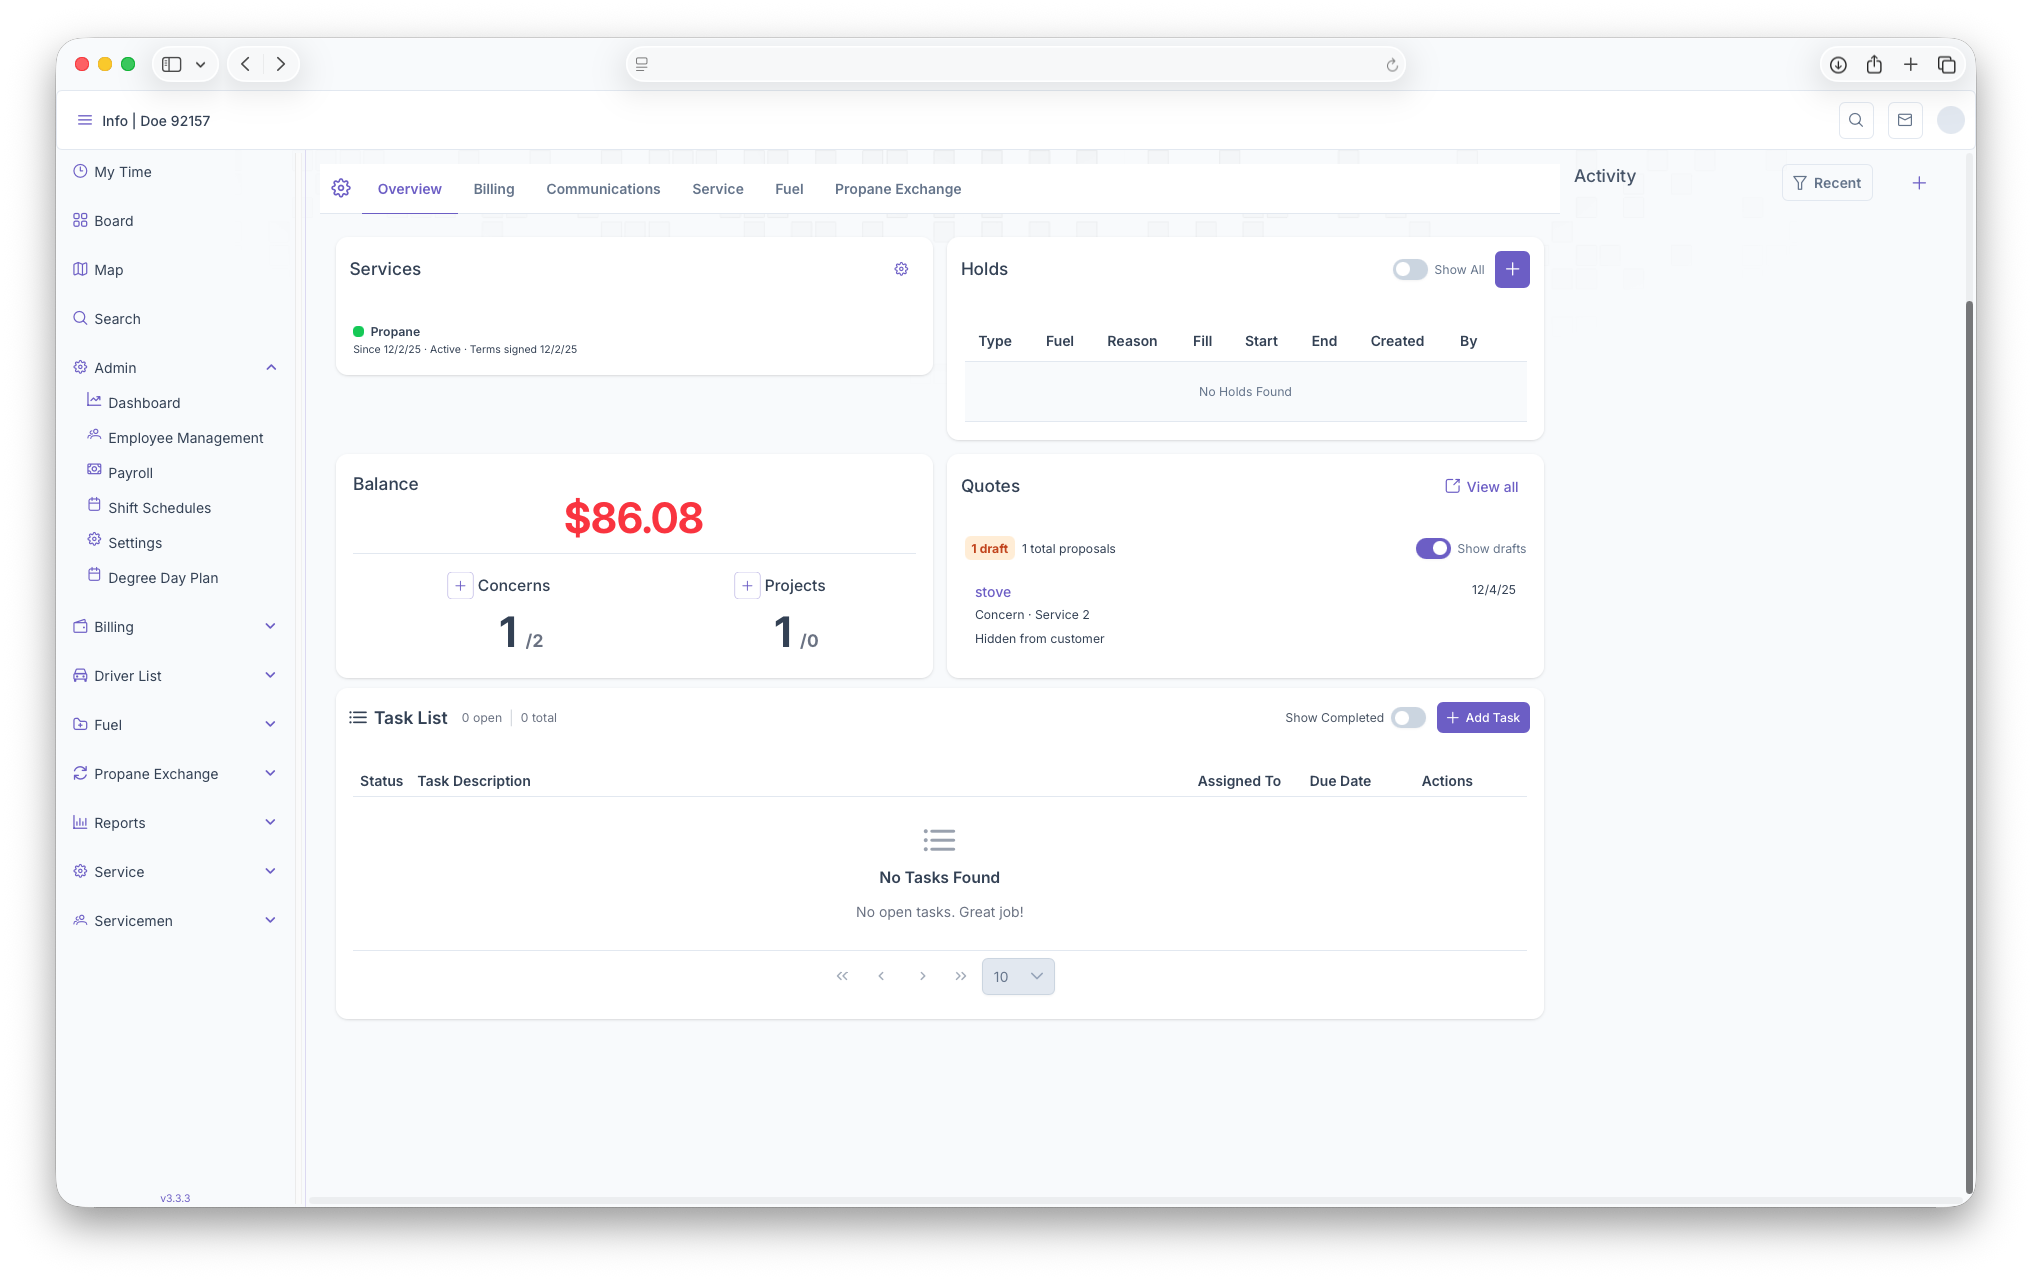
Services
The Services Box serves as a place where services can be added to the Customers account. Services can also be turned on or off from here. Service plan invoices can be added to a service from here as well. A more detailed look into services can be seen at the Adding Services page
Holds
From here a customers Holds can be seen, whether it's a service hold or a credit hold. If a customer has a hold, warning alerts will be shown on the top of the customers account. When looking at the holds box. a table will show with the following columns. Note that in order to add a hold on an account, the customer must have a system and equipment added on to their accounts. A more detailed look into holds reports can be seen at the Active Holds Report page
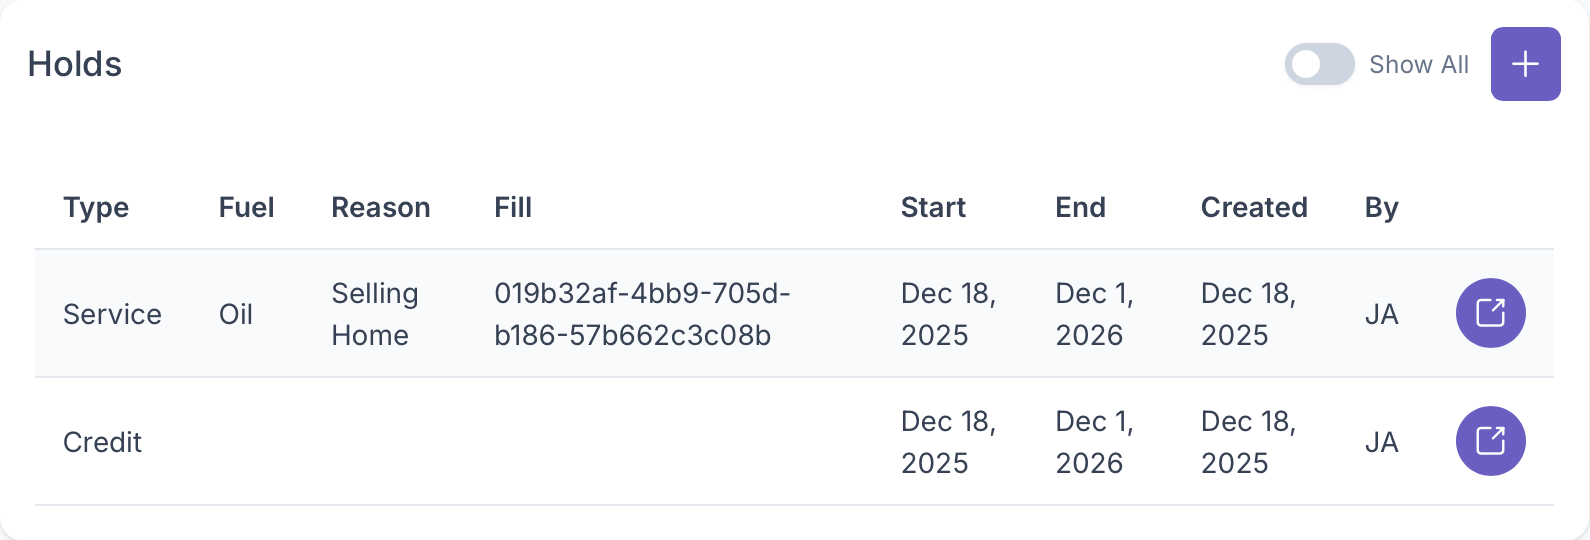
- Type - This is the type of hold on the account, be it a service hold or a credit hold
- Fuel - If it's a service hold, this will show the type of fuel that's part of the hold
- Reason - If it's a service hold, the reason for the hold will be here
- Start - The start date of the hold will be shown here for all holds
- End - If there's an end date set for the hold, it will be shown here
- Created - Will show when the hold was created
- By - Will show who created the hold on the account
- Edit - Here the hold on the account can be edited, for more info, see below
Toggling Show All will generate all current holds and all past ones as well. Clicking on the add button will also give the option to add a hold on the account, be it a credit or service hold, two different add popups will appear
Credit Hold
Clicking on credit will allow for credit hold to be added on to the account by filling out the following fields
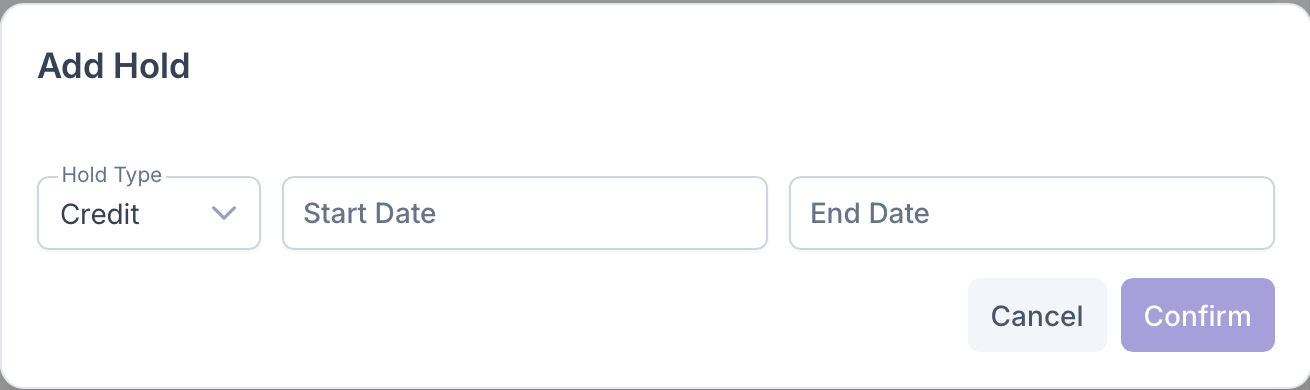
- Hold Type - Clicking on hold type and selecting Credit will start the credit hold process
- Start Date - When the credit hold started on the account
- End Date - The date of when the hold ends, does not need to be added if not applicable
After all fields have been added, clicking on confirm will add the Credit Hold on to the account, hitting cancel will close out the window and no hold will be added to the account. This popup is used as well for editing an existing Credit Hold.
Service Hold
clicking on Service will allowing for a Service Hold to be added to the account by filling out the following fields
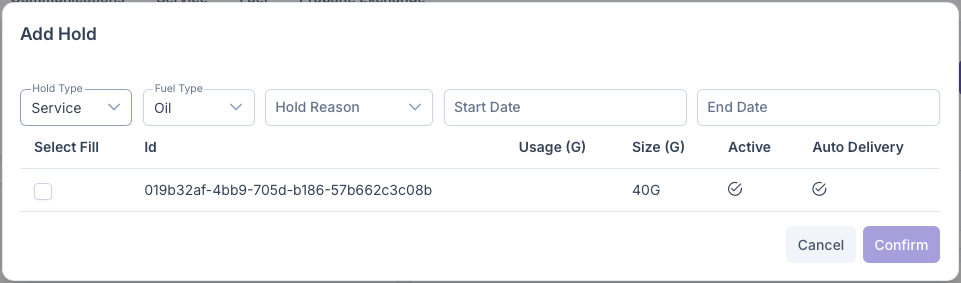
- Hold Type - Clicking on hold type and selecting Service Hold will start the service hold process
- Fuel Type - Select the type of fuel to put a hold on, the customer must have a system related to the fuel for a hold to be placed
- Hold Reason - Select a reason for placing a hold on the account
- Start Date - Date that the service hold was placed
- End Date - The date of when the hold ends, does not need to be added if not applicable
- Select Fill - A list of systems that the customer has will show up here, one must be selected for placing the hold on
Once all Fields have been filled and a system has been selected, clicking on confirm will add the Service Hold to the account. Clicking on cancel will close out the window no hold will be uploaded to the account. This popup is used as well for editing an existing Service Hold account
Balance
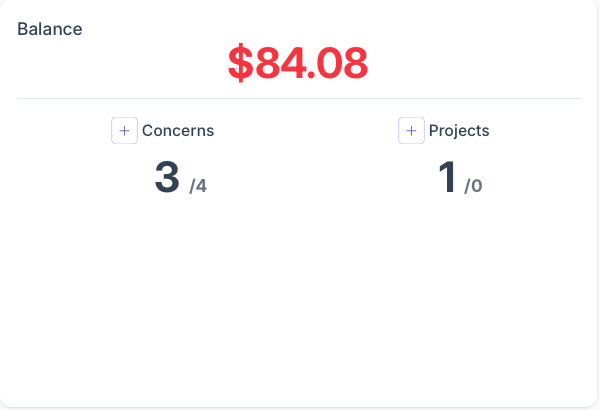
The Balance box serves to shows any balances the customer has on their account. Clicking on the balance will pull up the ledger page for the customer. Concerns and Projects can also be added here by clicking on the Add buttons next to Concerns and Projects. A more detailed view of Adding Concerns and Projects can be seen on the Service page
Ledger
Here a table will be generated that shows any invoices due and how much, if any payments have been made to an invoice, and if more than one invoice, how much was paid to each one or wasn't paid by receipt. The Ledger will first generate with a search option if looking for a specific invoice or payment/receipt. The ability to do a budget trransfer can be done here. The gear then gives the ability to add or subtract columns from the table shown and then the ability to export the ledger for easier printing or sharing. The Table generates with the following columns
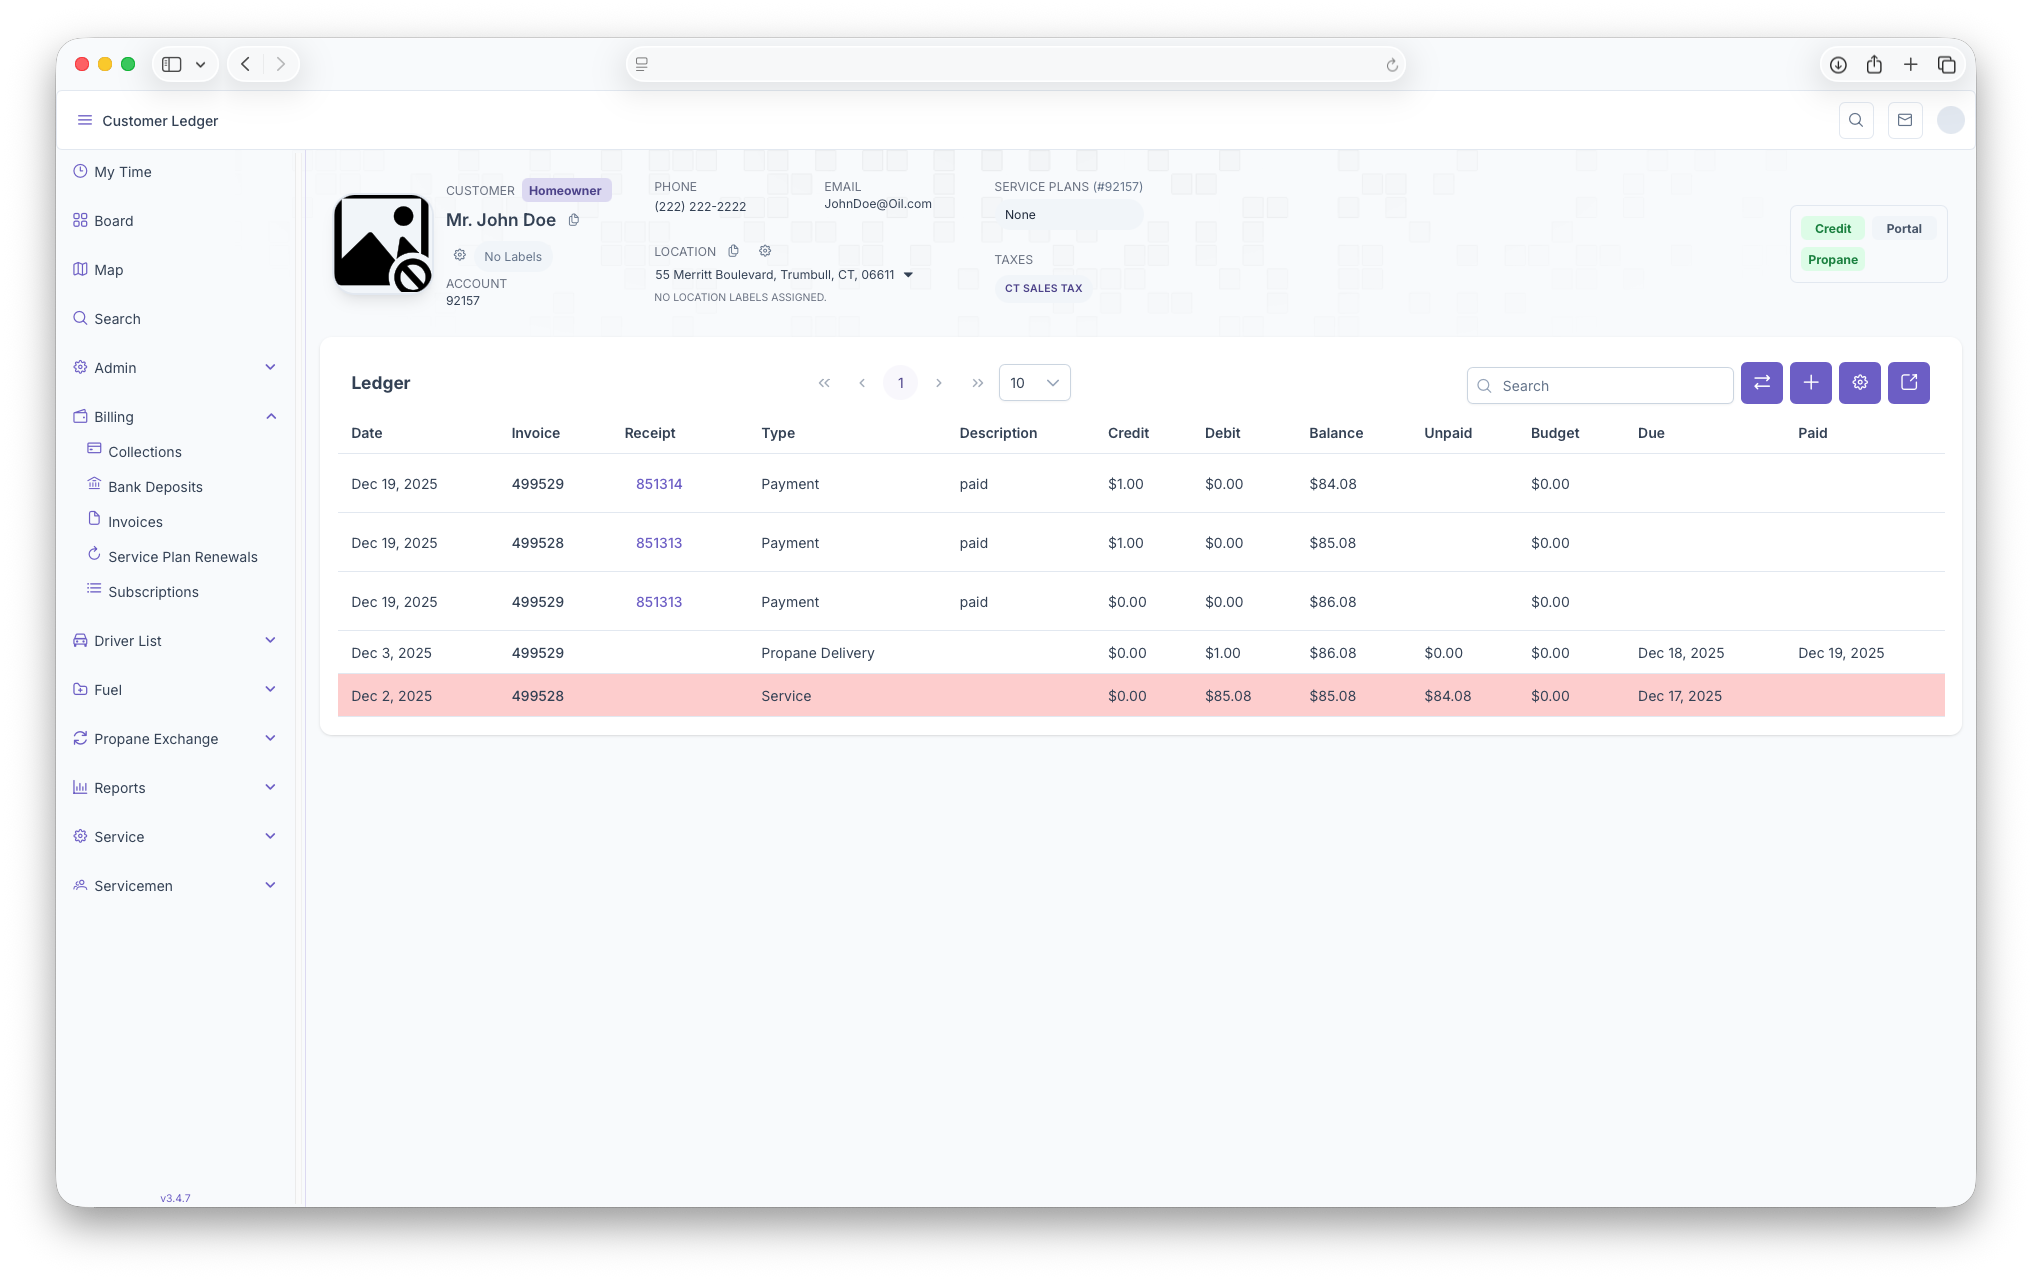
- ID - This shows an ID that is attached to each Invoice or Receipt
- Date - Shows the date when the Invoice and/or receipt was created
- Debit Entry - Shows the Entry Number of the receipt
- Invoice - Shows the invoice number for each invoice, any receipts associated with an Invoice will display that same invoice number
- Receipt - Shows the Receipt Number, a more detailed report on receipts can be seen on the Bank Deposits and Receipts page
- Type - Shows the type of the line item, such as payment, Propane Delivery, Service, etc.
- Description - shows a brief description of the line item
- Credit - Shows the credit that was paid on the receipt
- Debit - Shows what was owed on the account
- Blance - For Invoices, shows what the original total balance on the account was and for receipts, shows the total balance after a payment was made.
- Unpaid - Shows any amount still due on the invoice
- Budget - The customers budget plan balance will be shown here
- Delivered To - Shows the account number of the Customer that the line item was delivered to
- Due - Shows the due date for an Invoice
- Paid - Shows the date an inoice was fully paid off
- Adjusted by - Shows who made any adjustments to any of the line items
Quotes
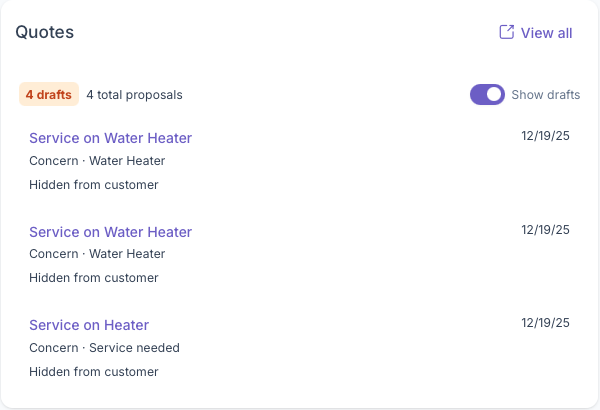
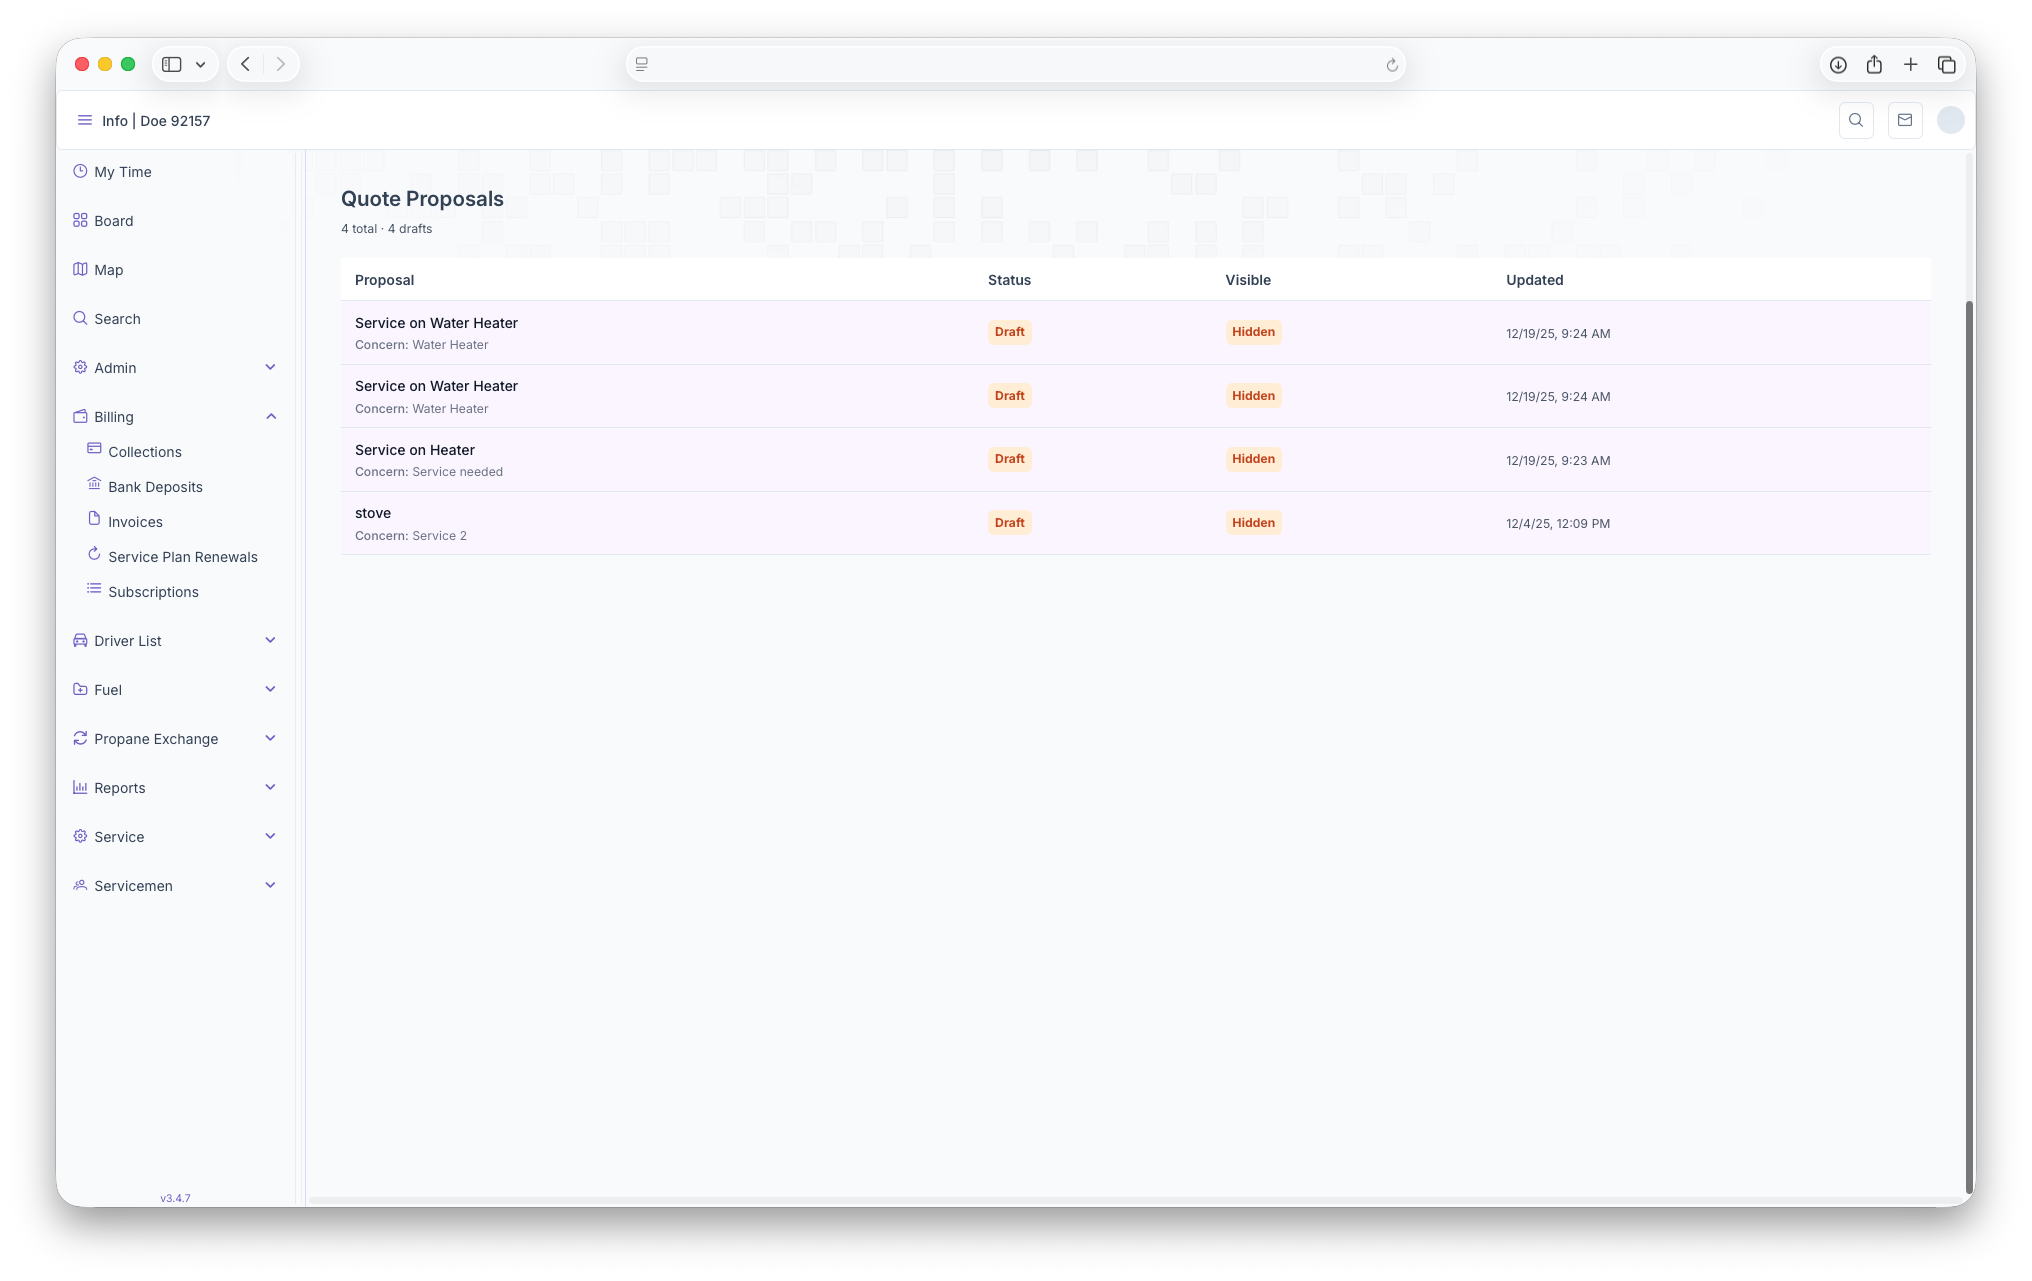
The Quotes box is where Proposals can be added to the account for jobs that need to be completed. Clicking on View All pulls up a more detailed page of all proposals added to the customers account. Toggling Show Drafts shows a brief listing of the most recent drafts on a customers account. A more detailed look into drafts can be seen on the Quotes page. Adding drafts can be done on the Concerns box under the Service tabe page.
Tasks List
The Final box shown on the Overview page is the task list. Here tasks can be added or edited as reminders for any jobs that need to be done for the customer. Toggling Show Completed will show all tasks including the ones that have been finished. The box will generate with lines items and the following columns

- Status - By clicking and adding a check mark, it will mark the task as complete
- Task Description - Here will be a brief description of the task that needs to be performed
- Assigned To - Shows who the task was assigned to
- Due Date - Date that the task is to be completed by
- Actions - Any actions that can be taken on the task such as editing and deleting
Tasks can also be added here by clicking on Add Tasks. After clicking on Add Tasks, the Create New Tasks popup appear, adding the task can be done once all fields have been filled out
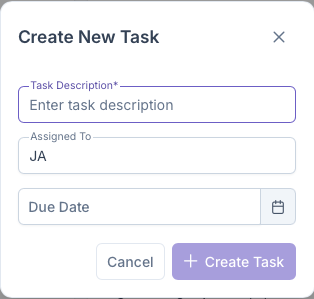
- Task Description - Add a brief description of the task that the customer needs completed
- Assigned To - Add the initials of the person handling the task
- Due Date - The date that the task needs to be completed by
Once all fields have been filled out, clicking on Create Task will add the task to the customers account for review and completion. Clicking on Cancel will close out the popup and any information will be deleted. This is also the same popup that generates when trying to edit a task
No comments to display
No comments to display