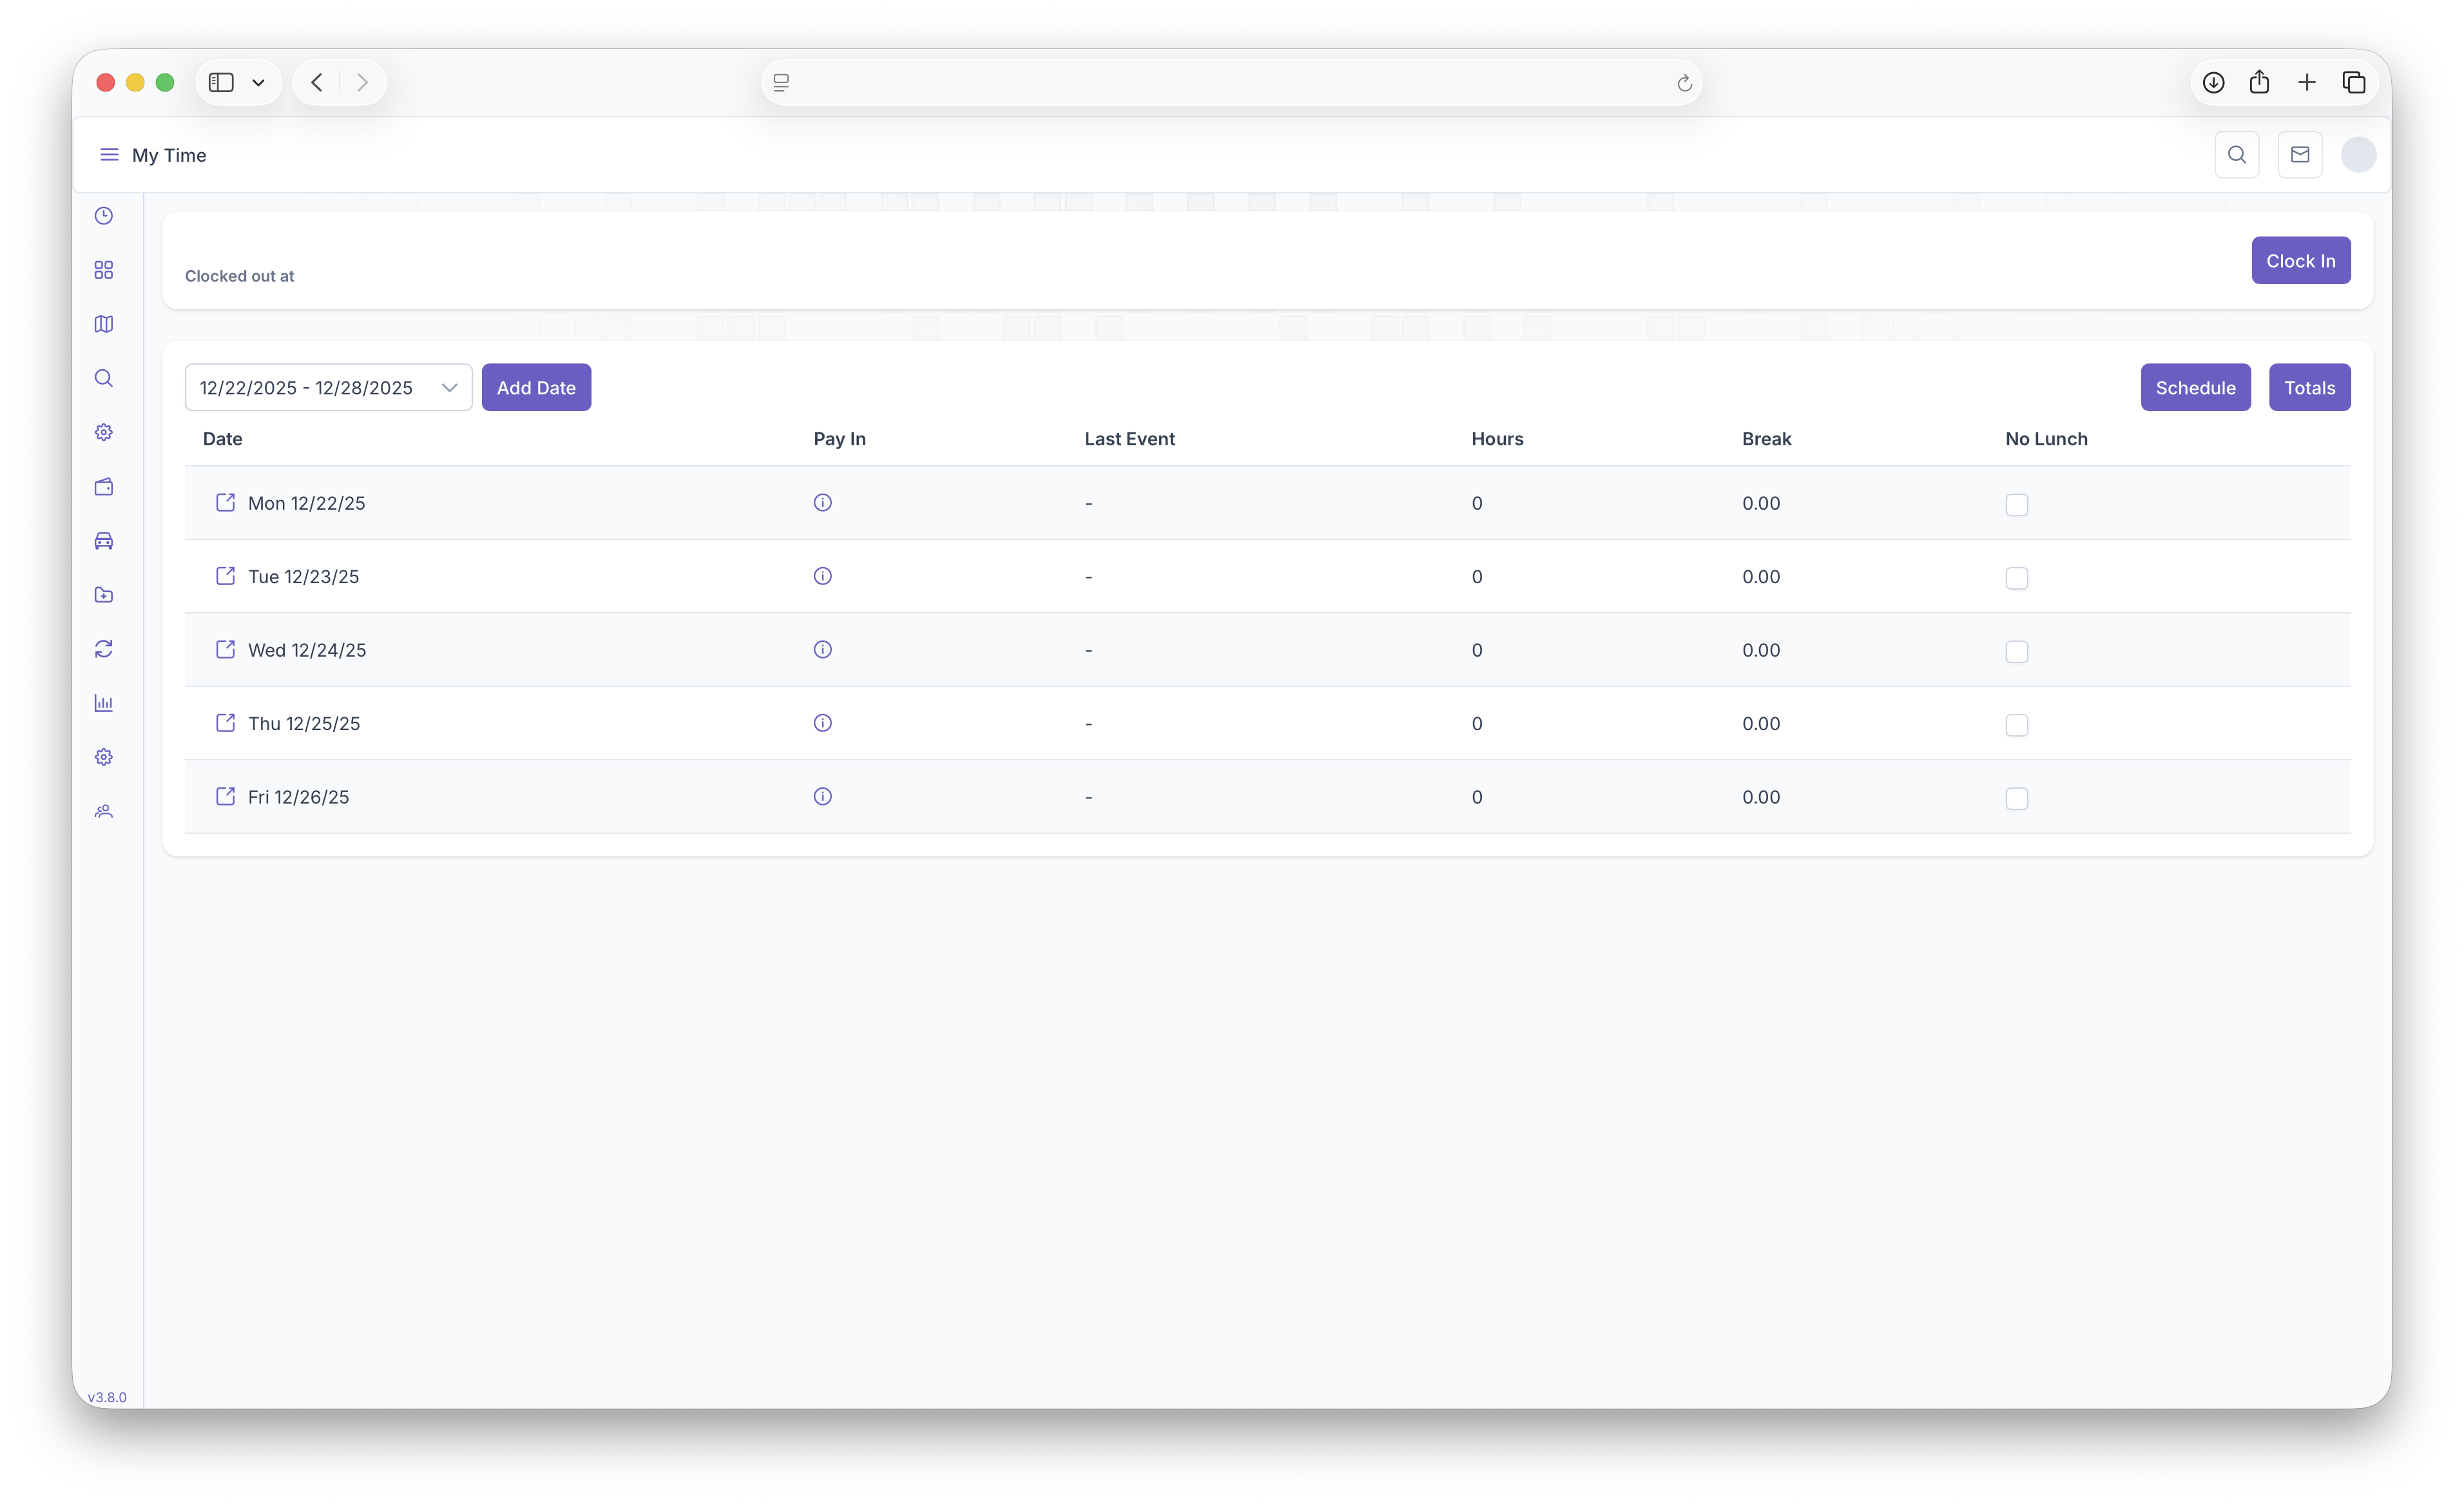
Setting Up Routing
Overview
When Fuel deliveries are requested or set to auto deliver, The Routing page is used to place those orders on a load, then route in order for them to be delivered. The routing page can be reached by
- Clicking on the 3 bars on the top right corner to expand the side menu
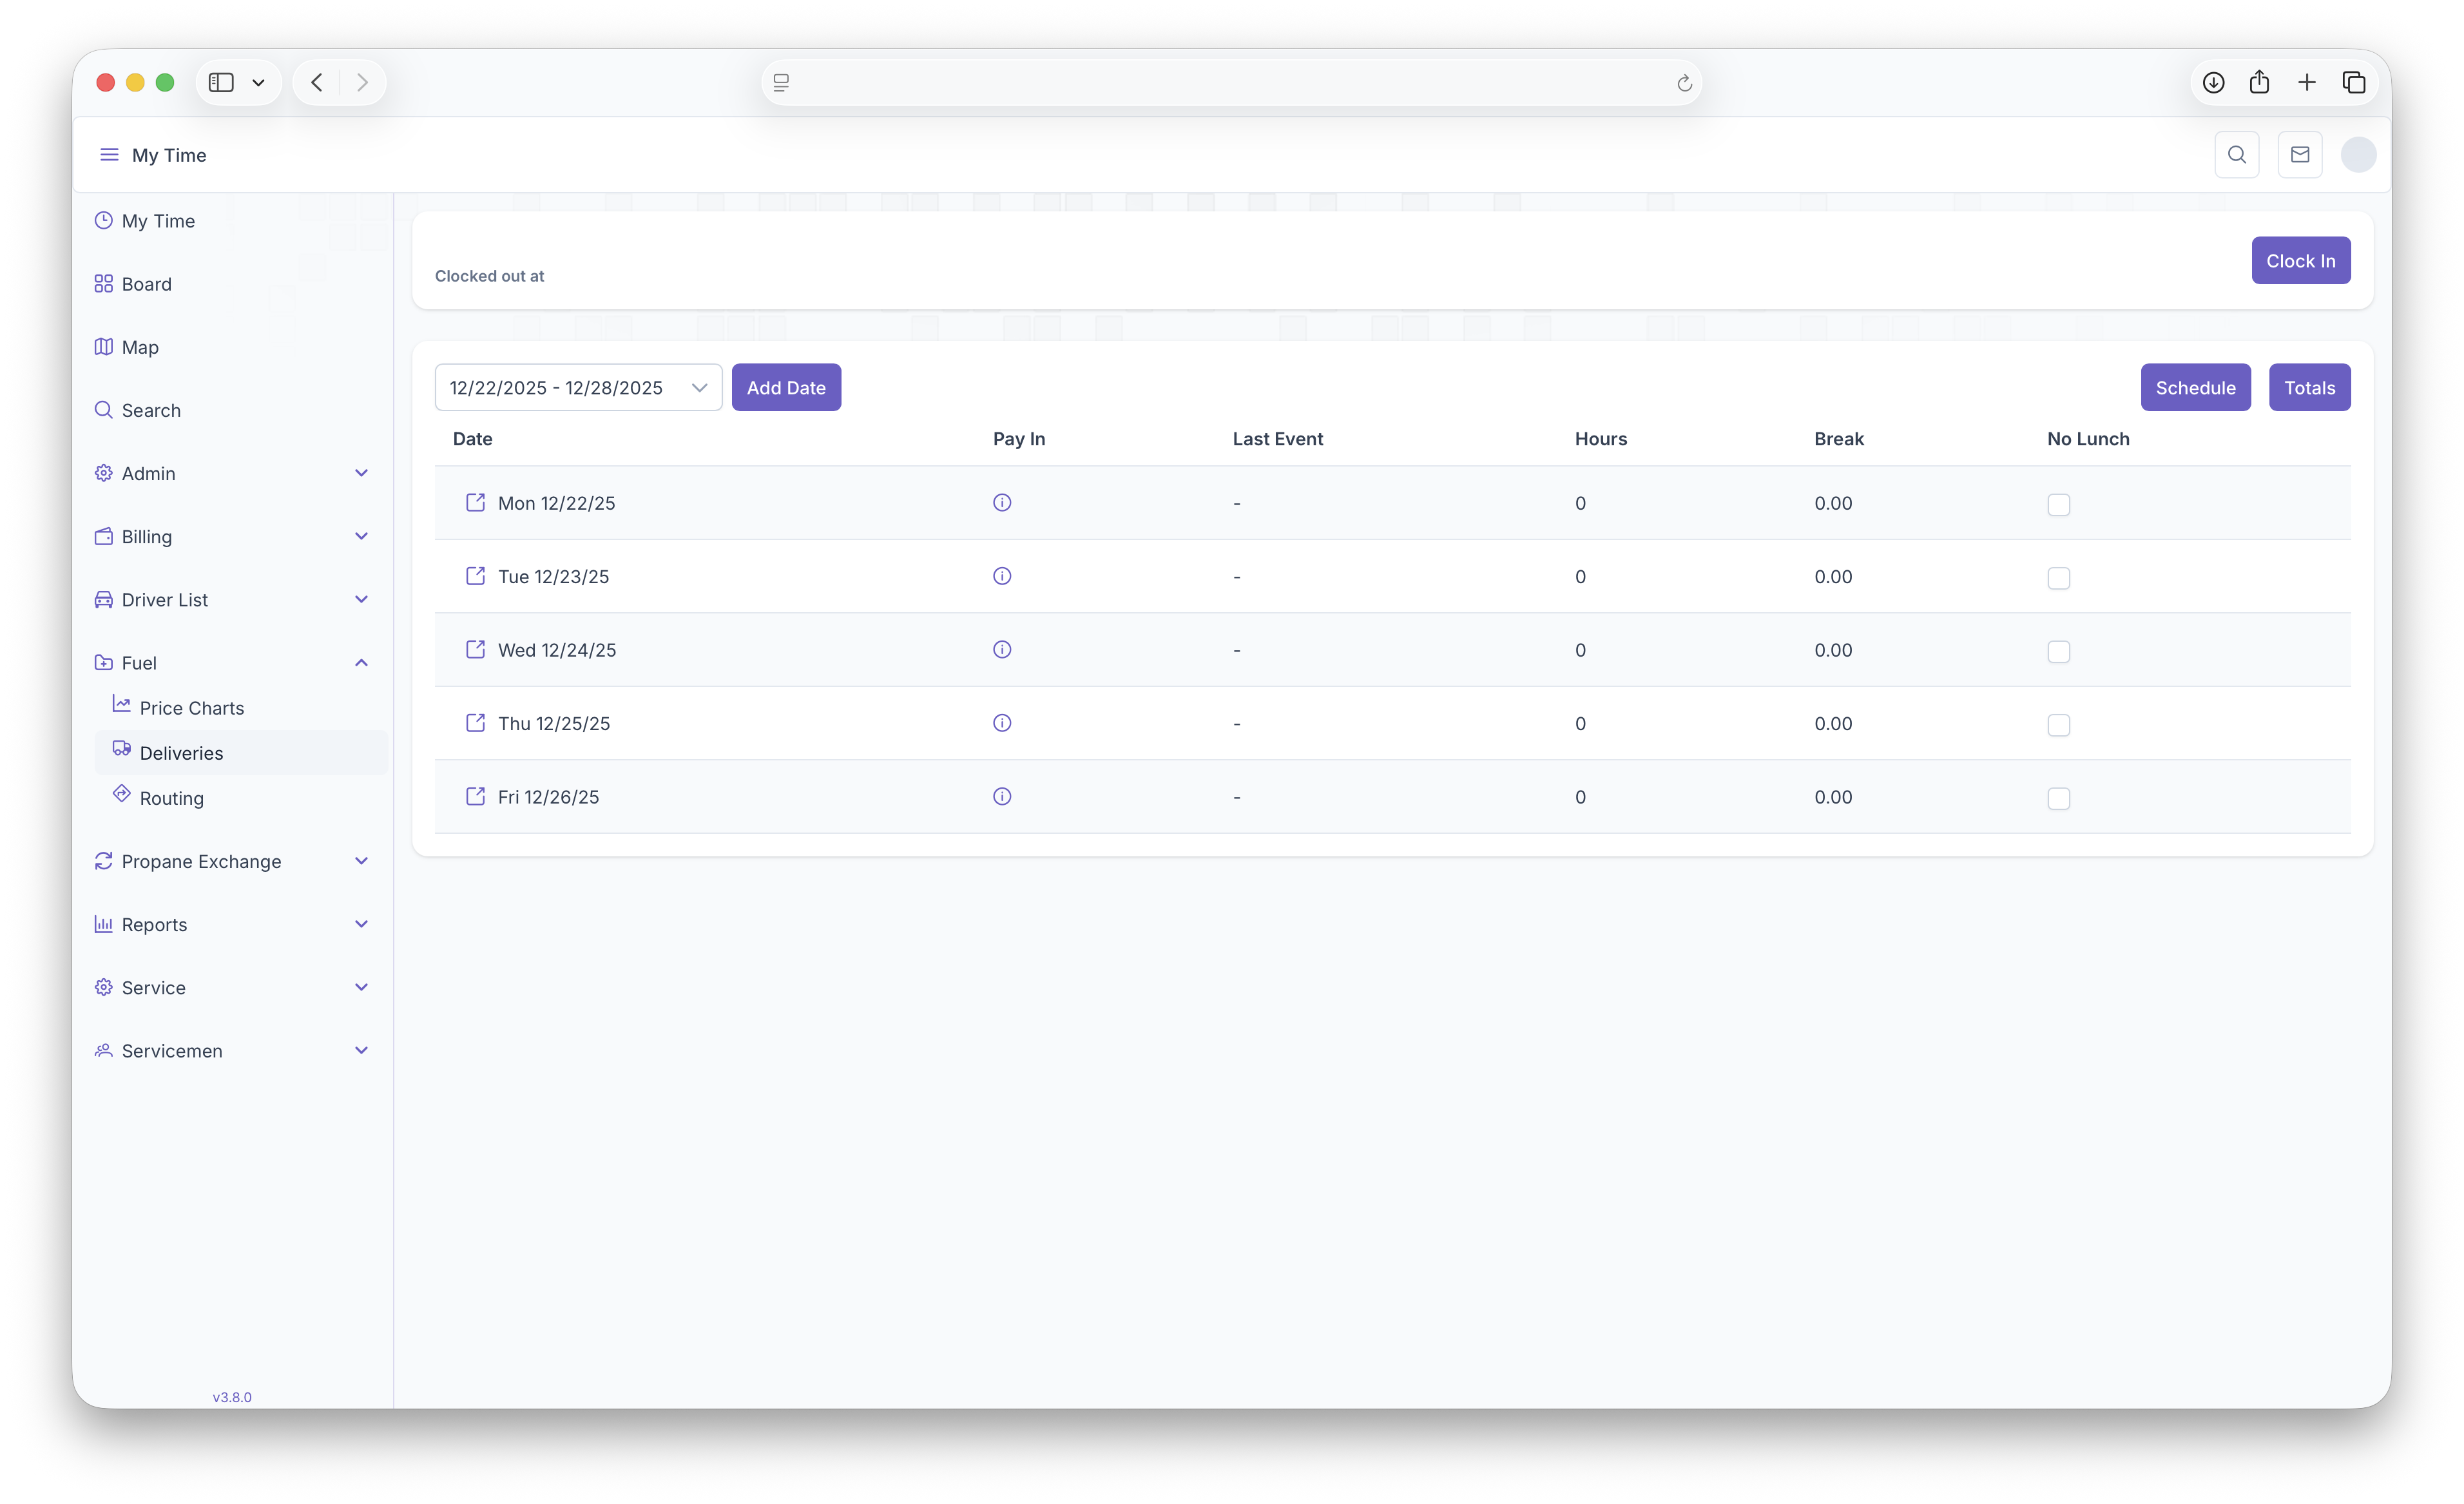
- The Clicking on the Fuel Dropdown
- Then clicking on Routing
This will then bring up the routing map
Routing Map
The Routing map is now where all delivery request will show up, including manual and auto deliveries. Before getting started with setting up a route, a few things must be set prior to beginning
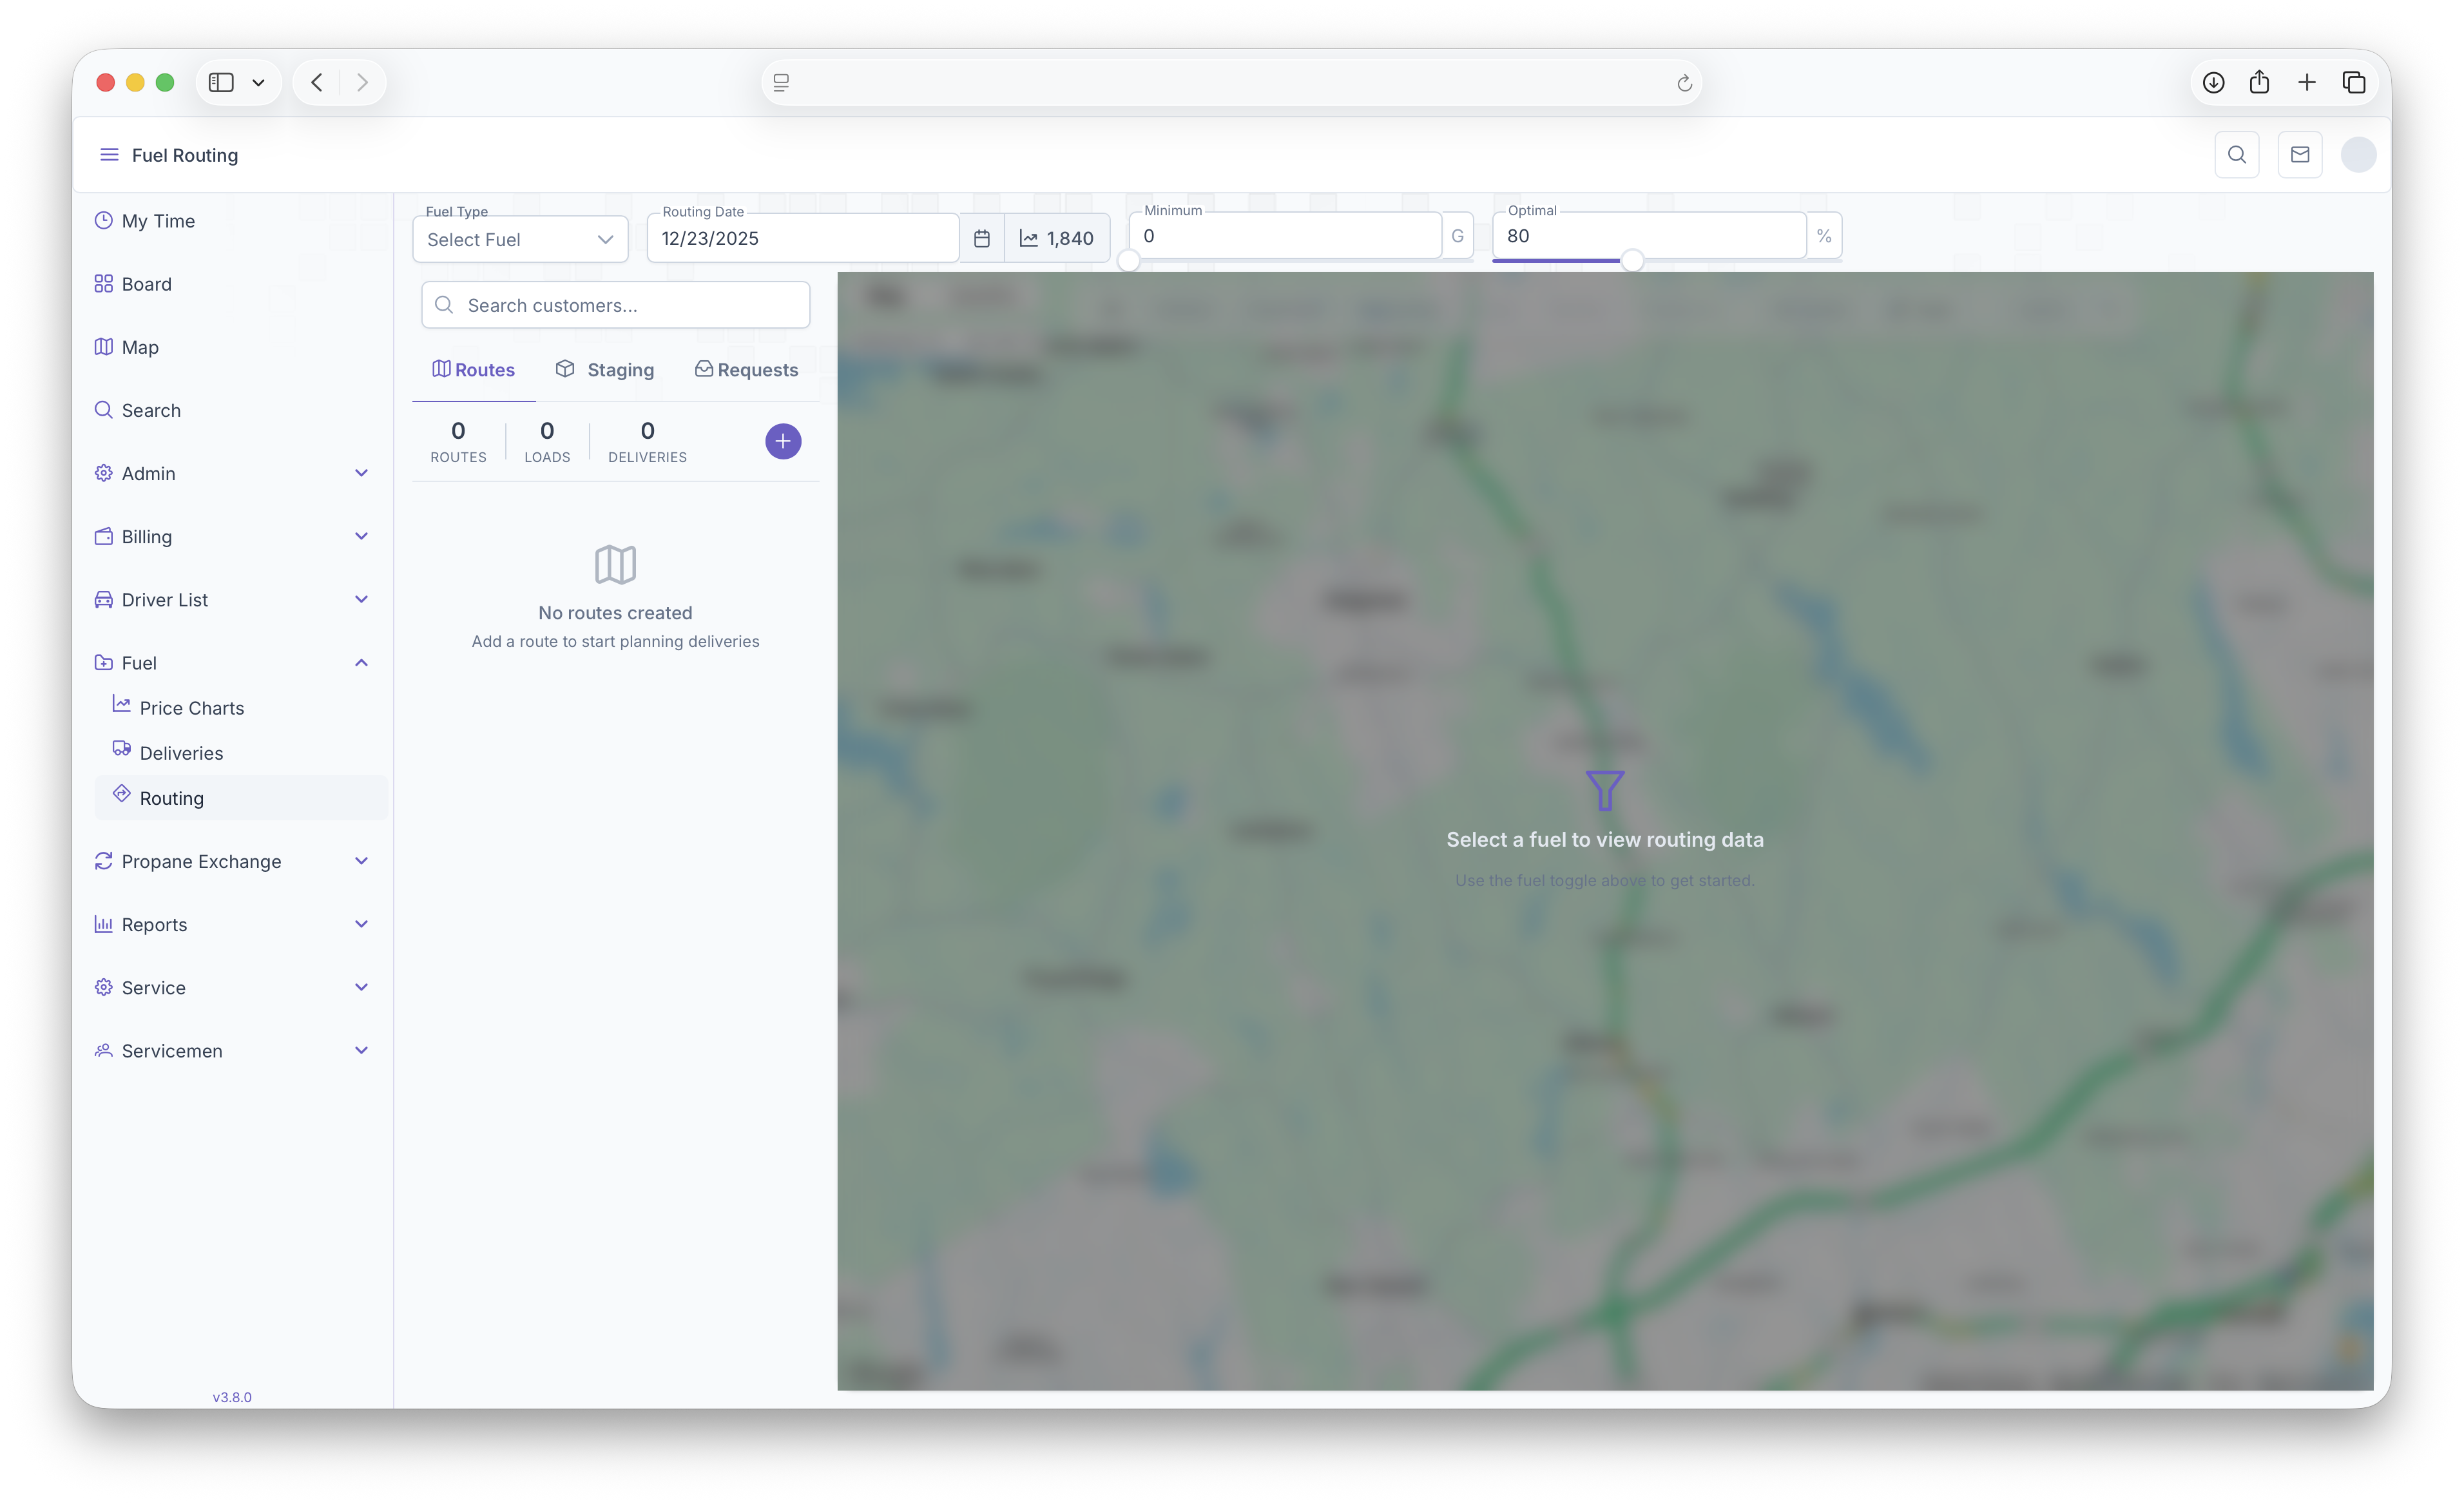
- Fuel Type - Select the fuel that's being routed for delivery
- Routing Date - The date the route is set to be delivered
- Minimum - Can be adjusted to show the minimum deliveries selected on the map
- Optimal - Can be adjusted to show the optimal deliveries selected on the map
These will be the first steps taken in order to start a route. The map will also show the current degree day next to the Routing Date
Setting up a Route
Once completed, The Routing Map will open up showing all Customers on the map.
Customers on Map
Hovering over a marker will show a brief description of the customer on the map, this includes
- Tank Size
- Expected Deliver/optimum Delivery
- The Customers Name
- Their Account Number
- Address
- Customer Status
Clicking on the marker will bring up a black box with more detail and options to take on the Customer. This box will be used later on for actual routing. Additional options are that clicking on More Details will bring up a popup showing a more in depth look into the customers information, and clicking on the Purple Card will pull up the Customer Account page.