Customer Account
Introduction
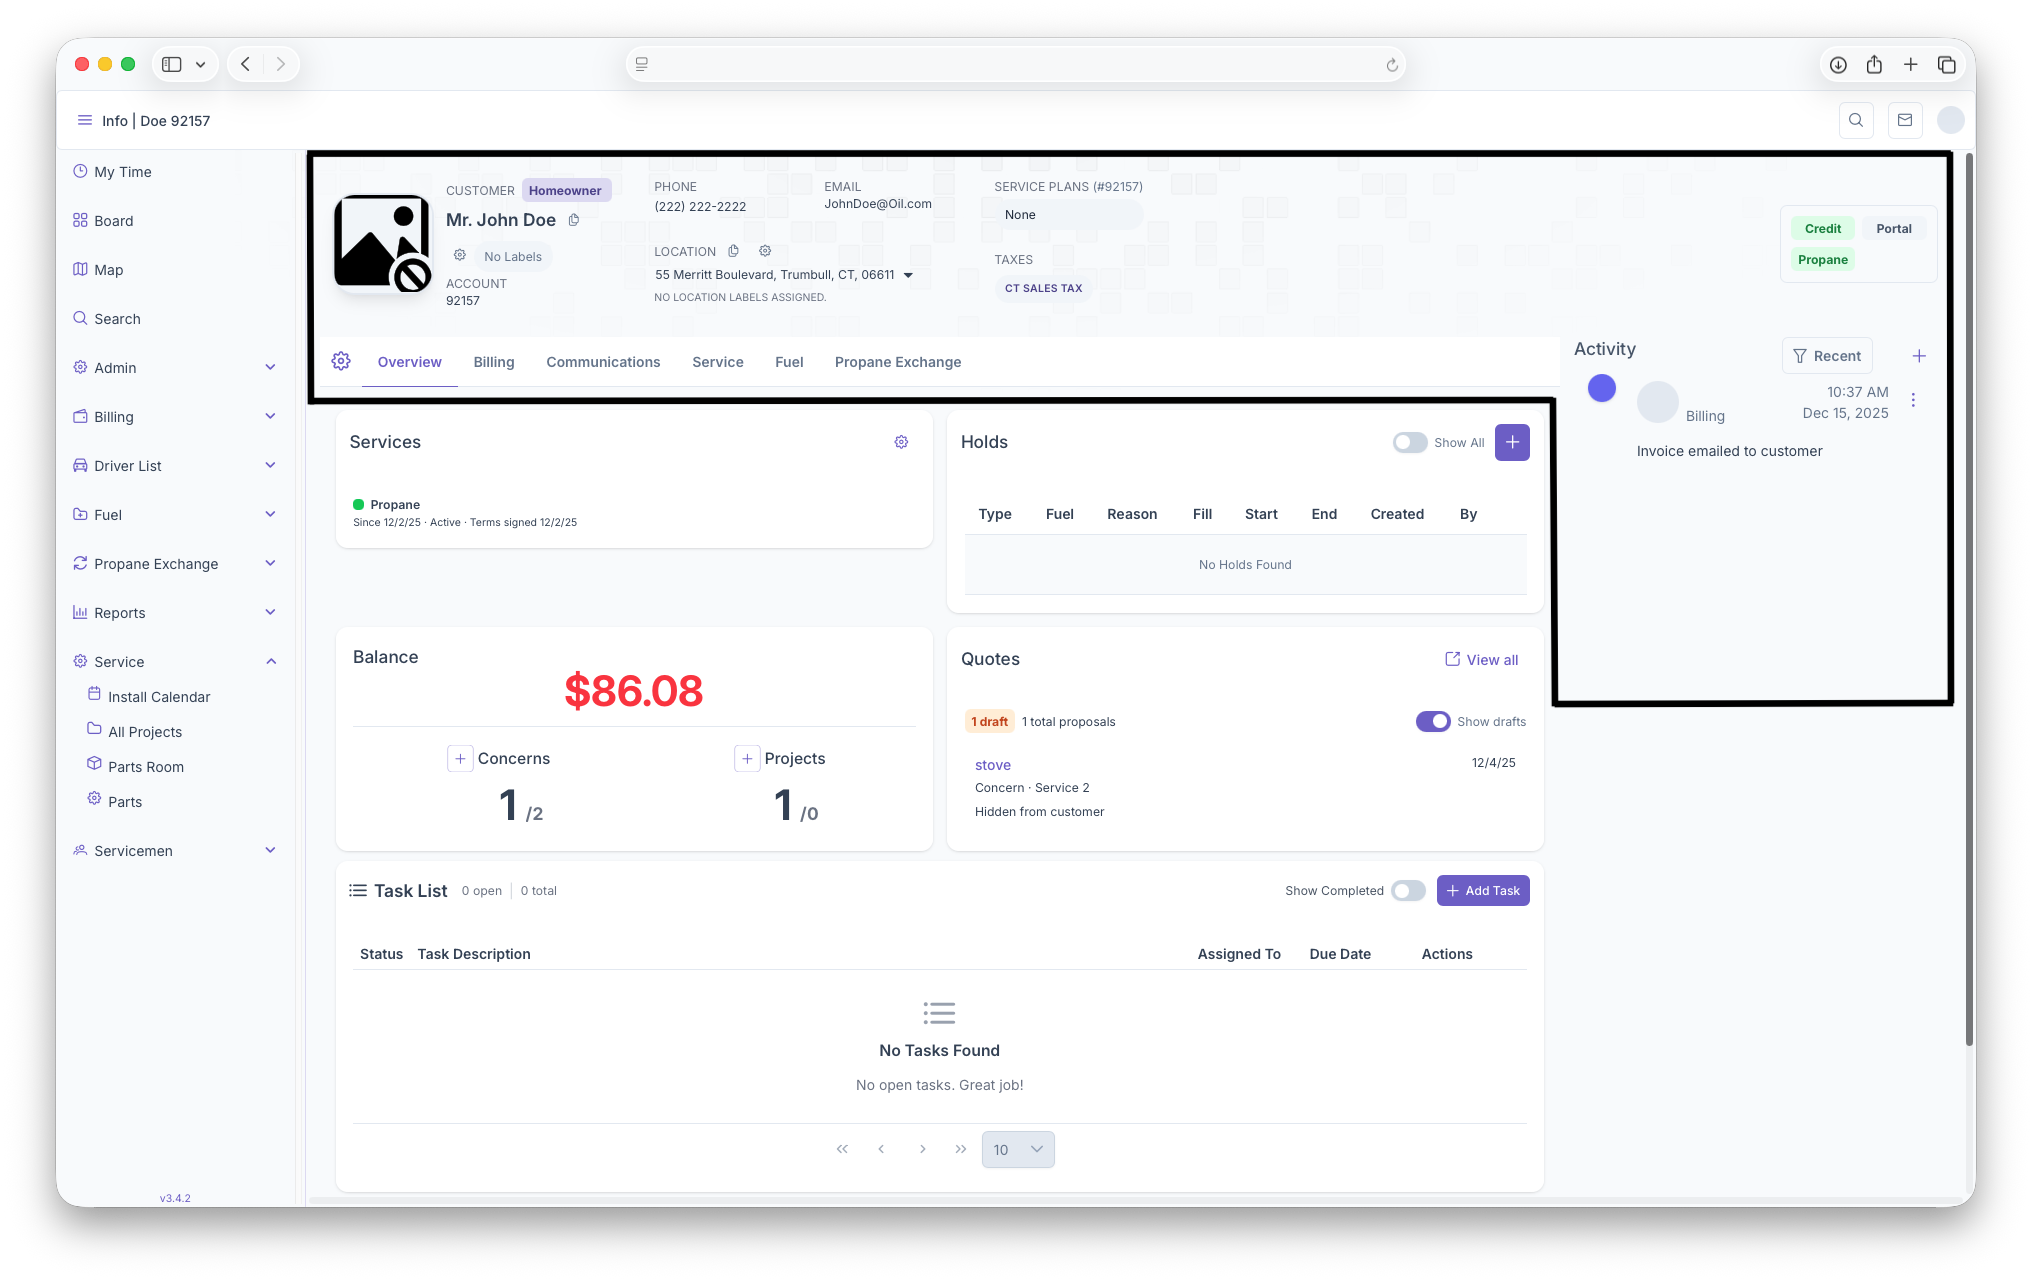
Upon landing on the customer account page, the Customers basic information will be displayed on the top of the page. This includes the customers Profile Picture, Customers Name, their Account Number, Phone Number, Email, Service Plans, Location, and Taxes. The customers basic information can be edited by clicking on the gear button right below the the customers Profile Picture. The right side of the screen will also show the status of the customers account. Below that will be the communications board. The customers account can alse be edited on this page as well.
Profile Picture
Clicking on the Customers Profile Picture allows images, videos and or documents to be uploaded to the customers account. Note that anything uploaded is tied to the selected address of the customer and will change when selecting a new address.
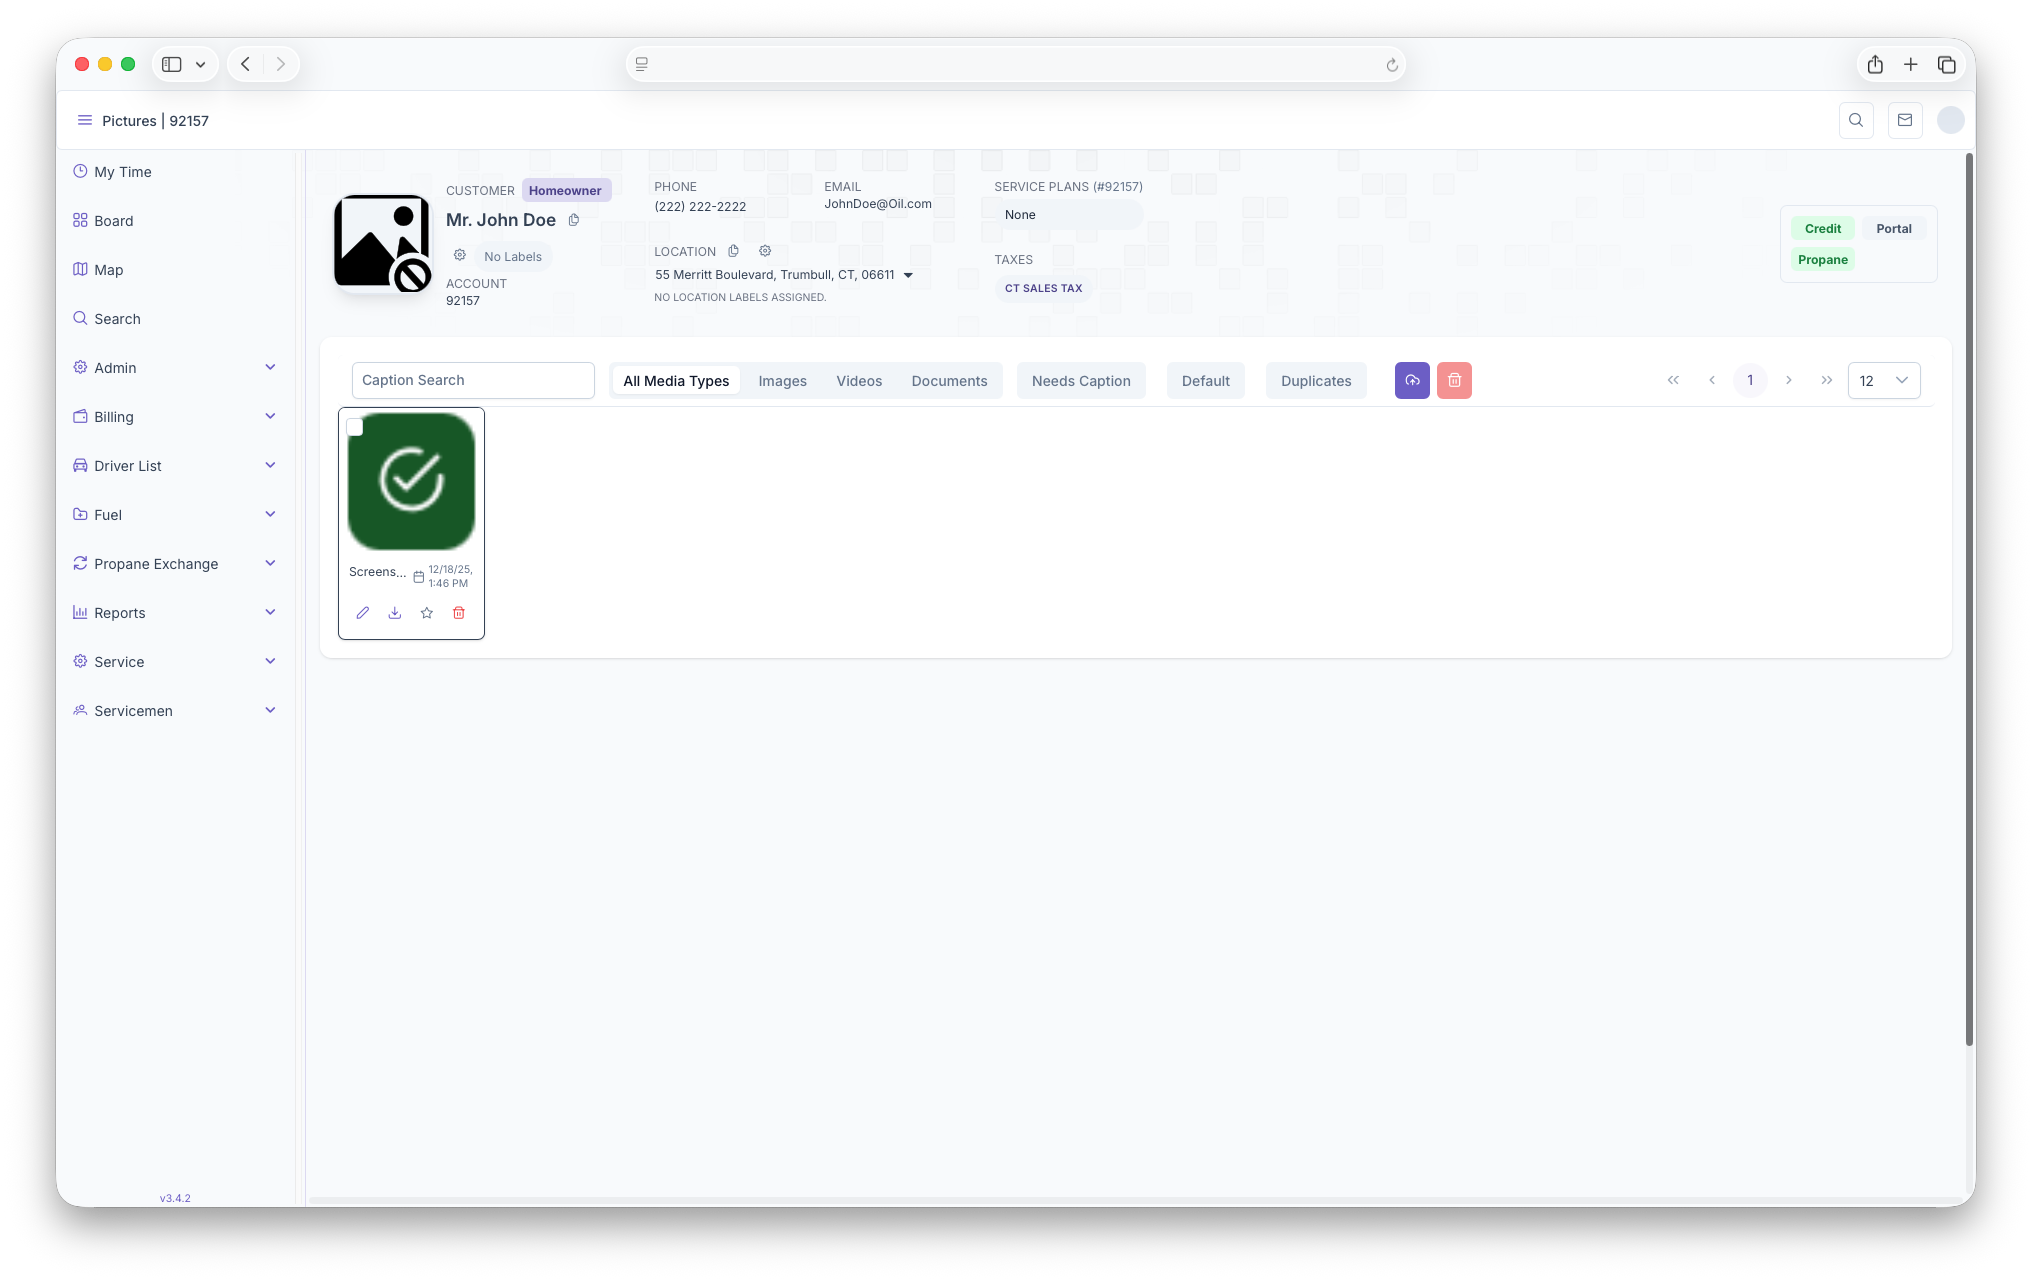
- Click on the space for a profile picture to enter the add page
- Next click on the Upload button to upload any images, videos or documents, captions can also be added to said media
- From here, clicking on the star under an image will make that image the customers Profile Picture for the selected address (note that each address for each customer will require their own uploads and profile pictures)
From here all media can be filtered by selecting a media type, whether an image needs a caption added to it, whether it's the default and/or if there are any duplicates. This page is handy for uploading all media to be referenced back to for the customer
Customer Name
Clicking on the Customer Name will bring the page back to the default overview of the page for any easy access to the customers account
Phone
Here, the customers main phone number will be displayed. Clicking on the phone number allows for adding, editing or deleting phone numbers. The page generates in rows that includes the phone number, name, type, default and actions.
- Click on the customers Phone Number to bring up the Add/Edit Page
- Click on The Add Phone Number button to bring up the add page
- Next fill out the phone number, customer name and what the primary use of the phone is, then click on save to add the new phone number
- Once back on the Phone Number page, clicking on the edit button on phone number row will allow the phone number to be edited.
- The edit page will then apear and the phone number can be edited (page is the same as the add page)
- Back on the phone number page, clicking on the trash can will delete the phone number
Here, the customers main email will be displayed. Clicking on the email allows for adding, editing or deleting emails. The page generates in rows that includes the email, name, default and actions.
- Click on the customers email to bring up the Add/Edit Page
- Click on The Add Email button to bring up the add page
- Next fill out the Email and customer name, then click on save to add the new Email
- Once back on the Email page, clicking on the edit button on email row will allow the phone number to be edited.
- The edit page will then apear and the email can be edited (page is the same as the add page)
- Back on the email page, clicking on the trash can will delete the email
Service Plans
Here The Customers active Service Plan for the address will be shown. Service plans are also tied to each location that the Customer has on their accounts. The Adding Services page shows a more detailed look in Service plans and how to add them
Location
Here is where the customers location for any services will be shown. Customers can have more than one location tied to their accounts, but every locations has their own Service Plans and information attached to them. Clicking on the address and selecting a different one will change the information to display only what is tied to that location. Clicking on Location Management gives a more detailed look into Location
Taxes
This is where the State Taxes can be seen for the address. Every location will have it's own taxes based on locations and will vary by state.
Communication Board
The Communications board is for seeing and/or adding any notes on the customers account regarding any projects that are currently being done or simply if an invoice was sent to the customer.
- To add a note, click on the Add button on the middle right of the page.
- The Create new event page will pop up
- Fill out the Event Type and then write up the note
- Click on Save to add the note to the commincations board. Clicking on cancel will cancel out the popup and no note will be added
Notes can also be edited by clicking on the 3 dots next to the comment. Once clicked, the option to Pin, Edit and Delete will show up. Clicking on Pin will pin the comment to the top of the message board for prioritizing any urgent notes and clicking on delete will delete the selected comment. Clicking on Edit will allow for a comment to be edited
- Click on Edit
- The Modify event page will popup, this looks like the Add Event page with all fields filled out
- After adjusting any information, clicking on Update will update the note, clicking on cancel will close out the popup and delete any updates made to the note
Editing Account
By clicking on the gear under the customers profile picture, the edit account page will pop up, from here basics edits to the costumers account can be made.
- Brand - Here the branding information for this account can be edited
- Contact - Contact information can be edited here, their Title, First Name, Last Name. Phone Numbers and Emails can also be added here by clicking on Add Phone and Add Email
- Billing Addres - Here a location search can be done, but if not, basic information on the customers address can be done here. Address, City, State and Zip
- Preferences - Here the customers preferences can be set, whether they want their invoices to be emailed or mailed to them, if they want to Auto Renew their Serviece Plan and if they want to opt in or out of any Marketing.