Zones
Zones
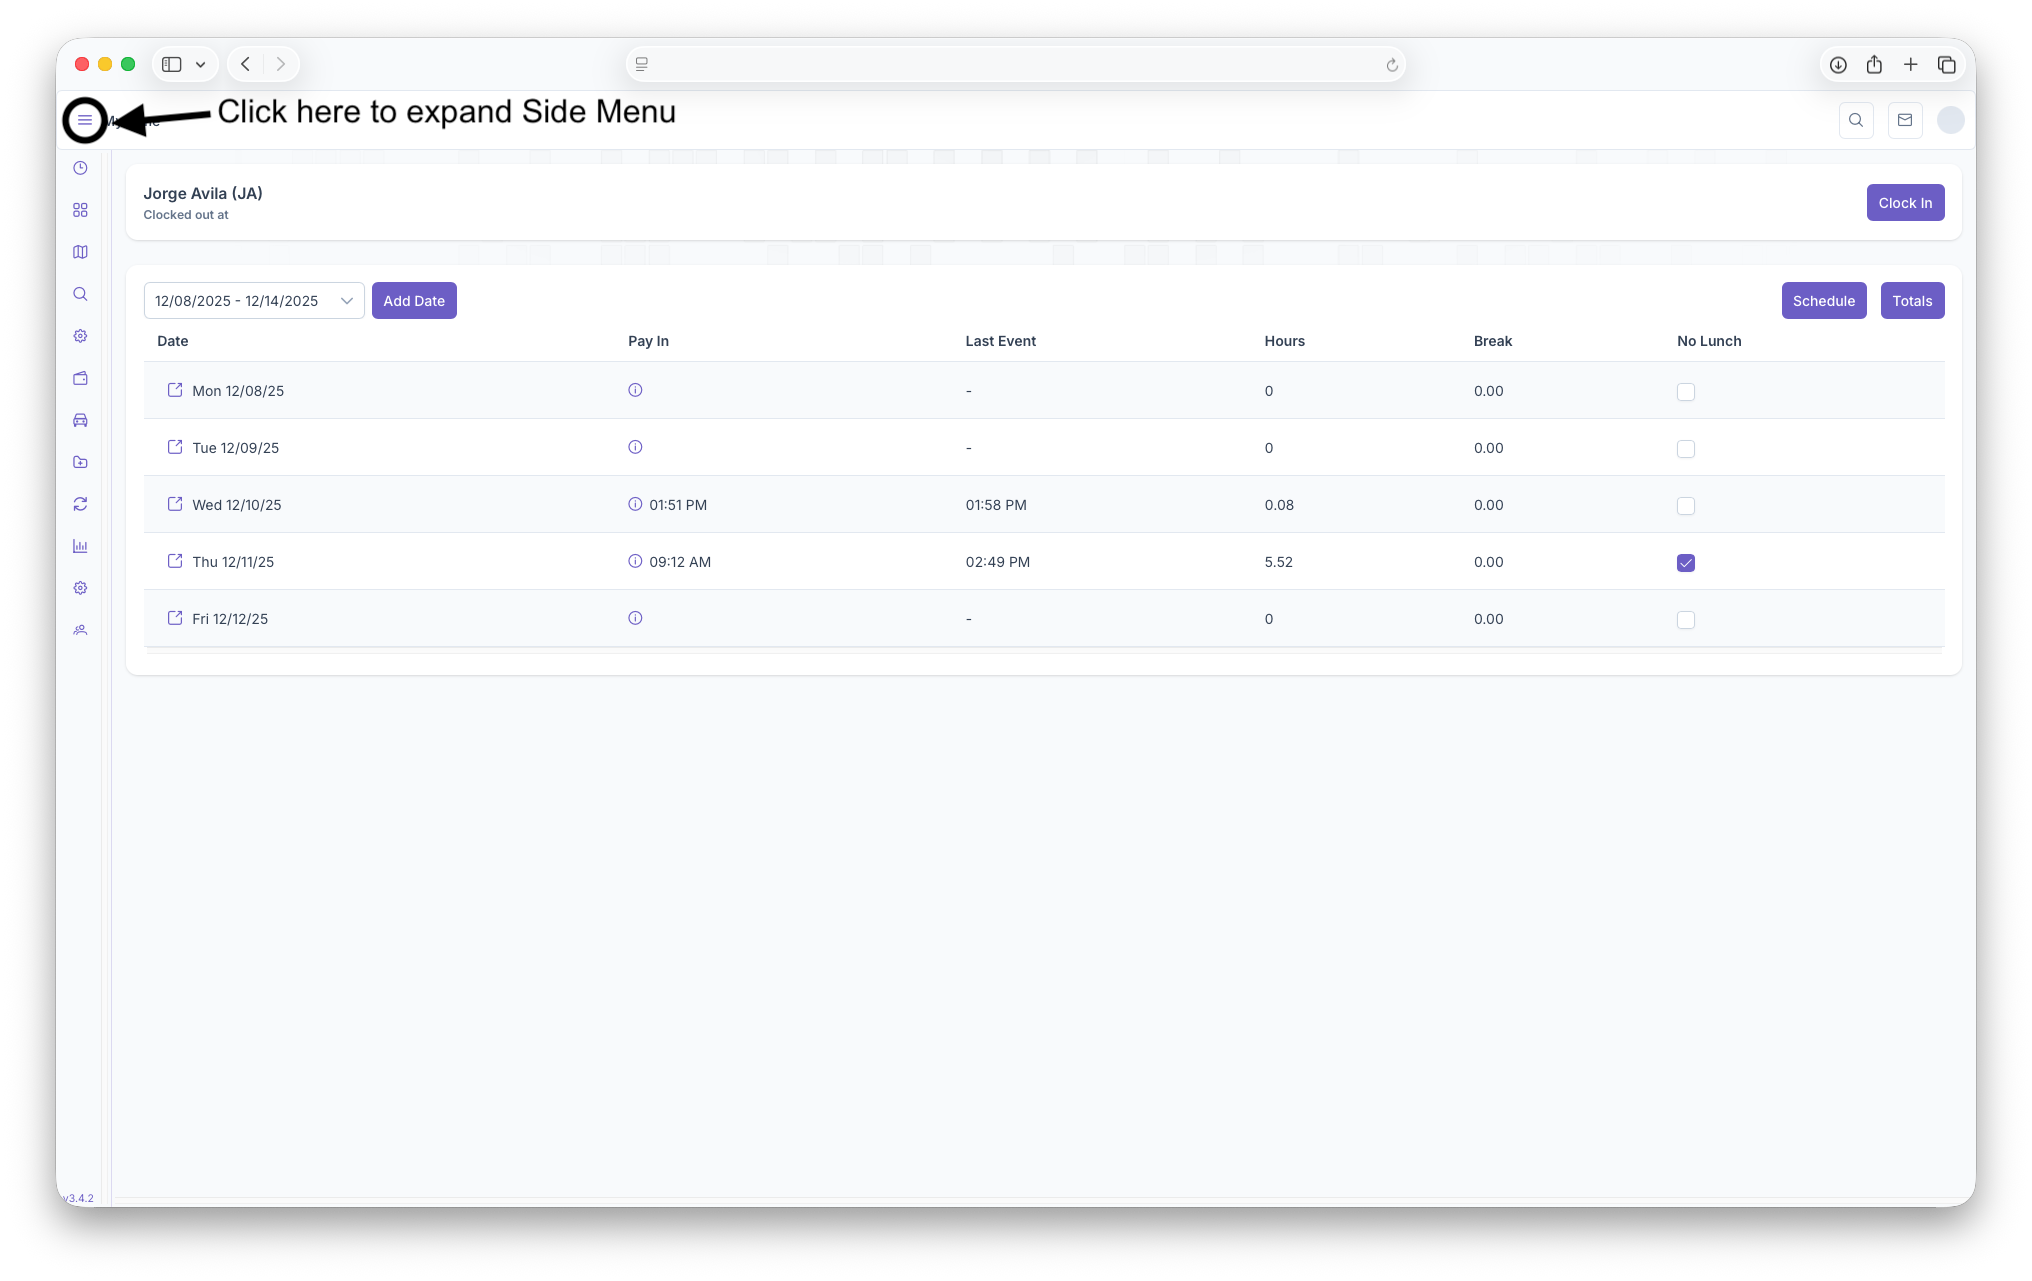
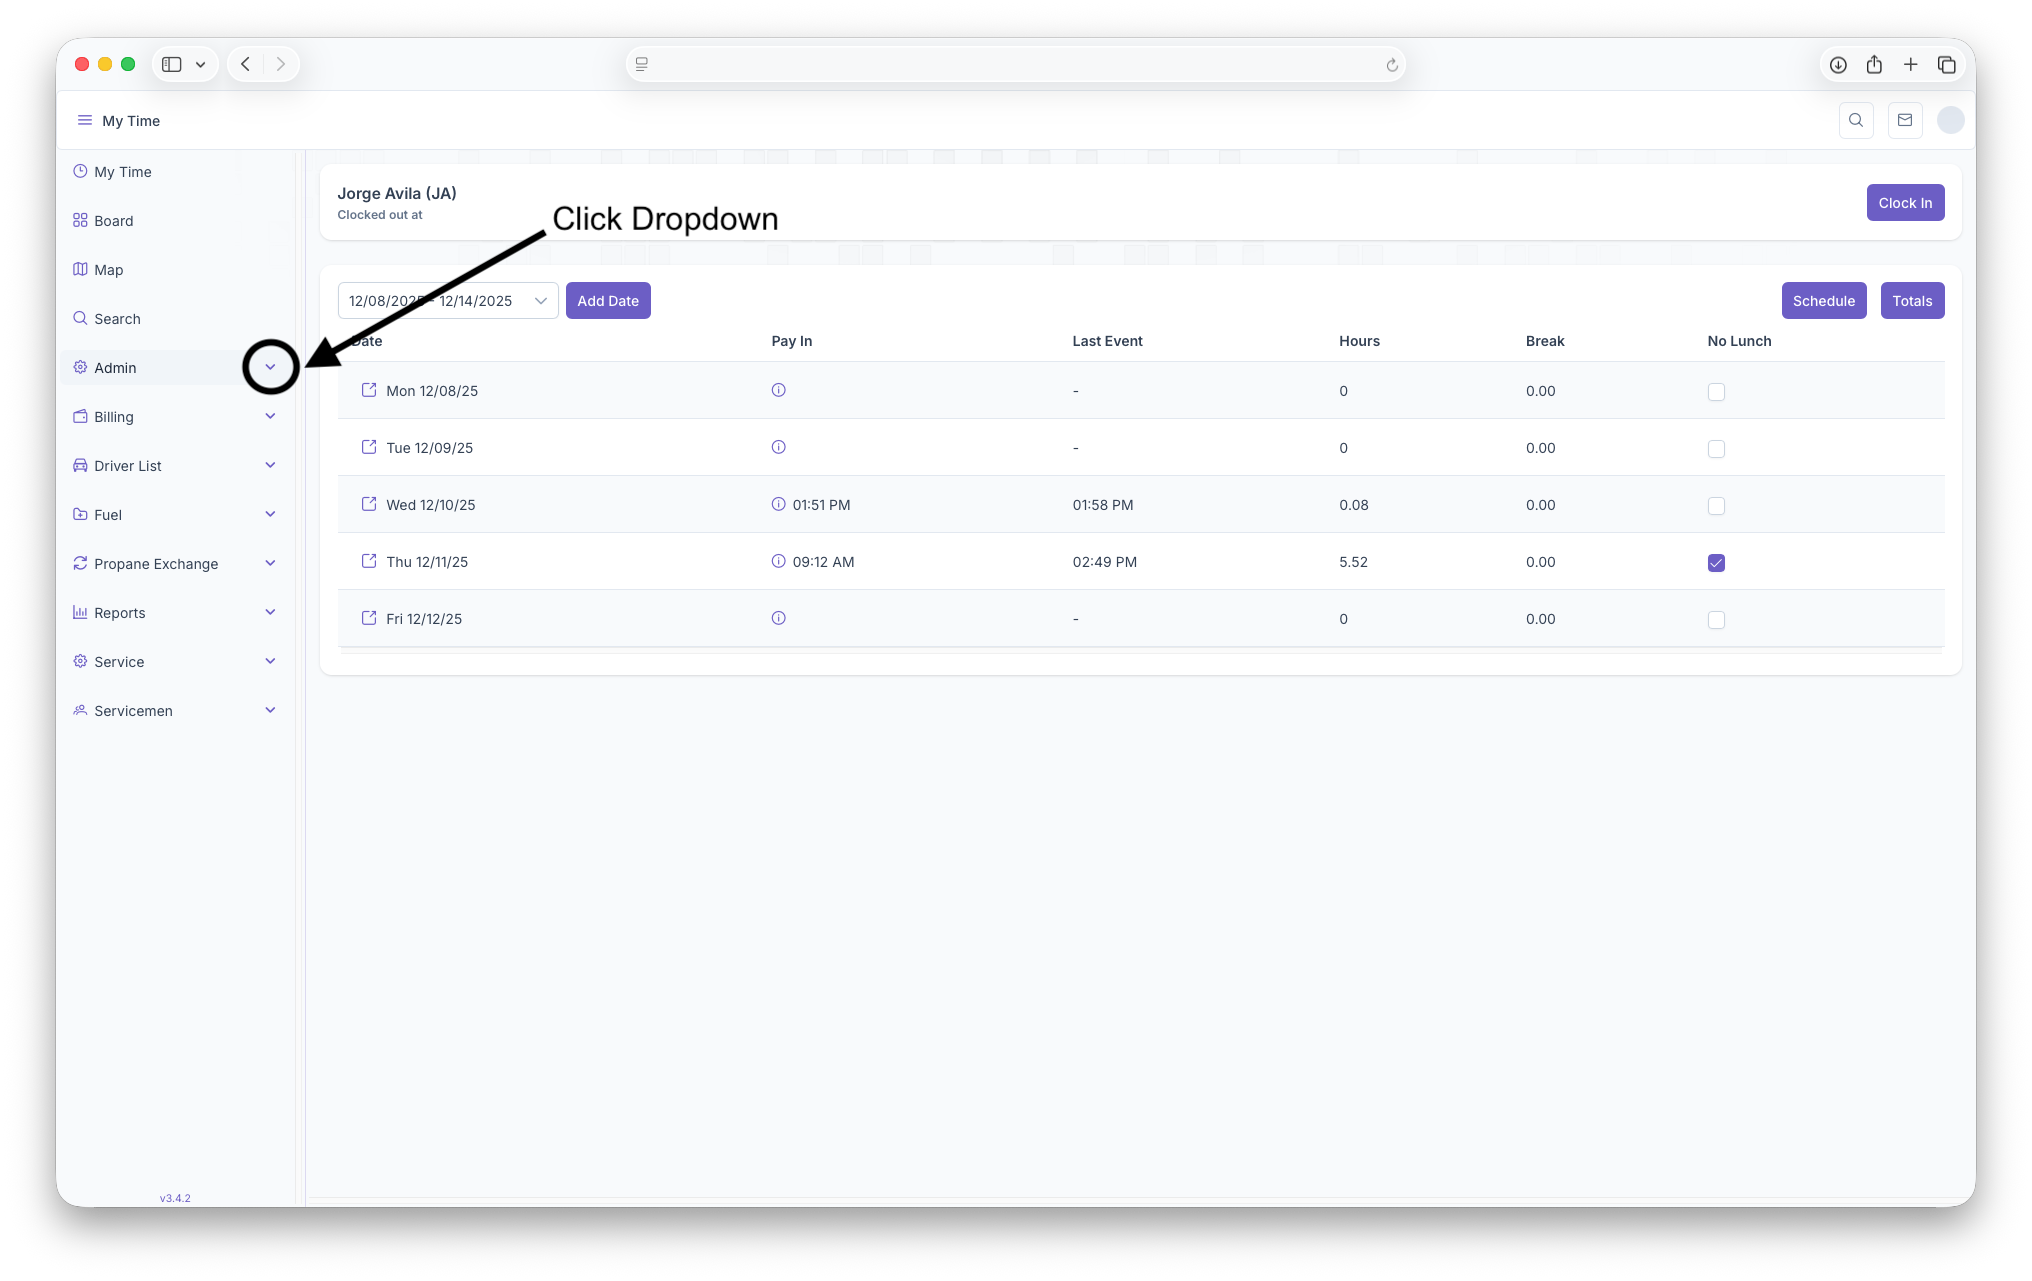
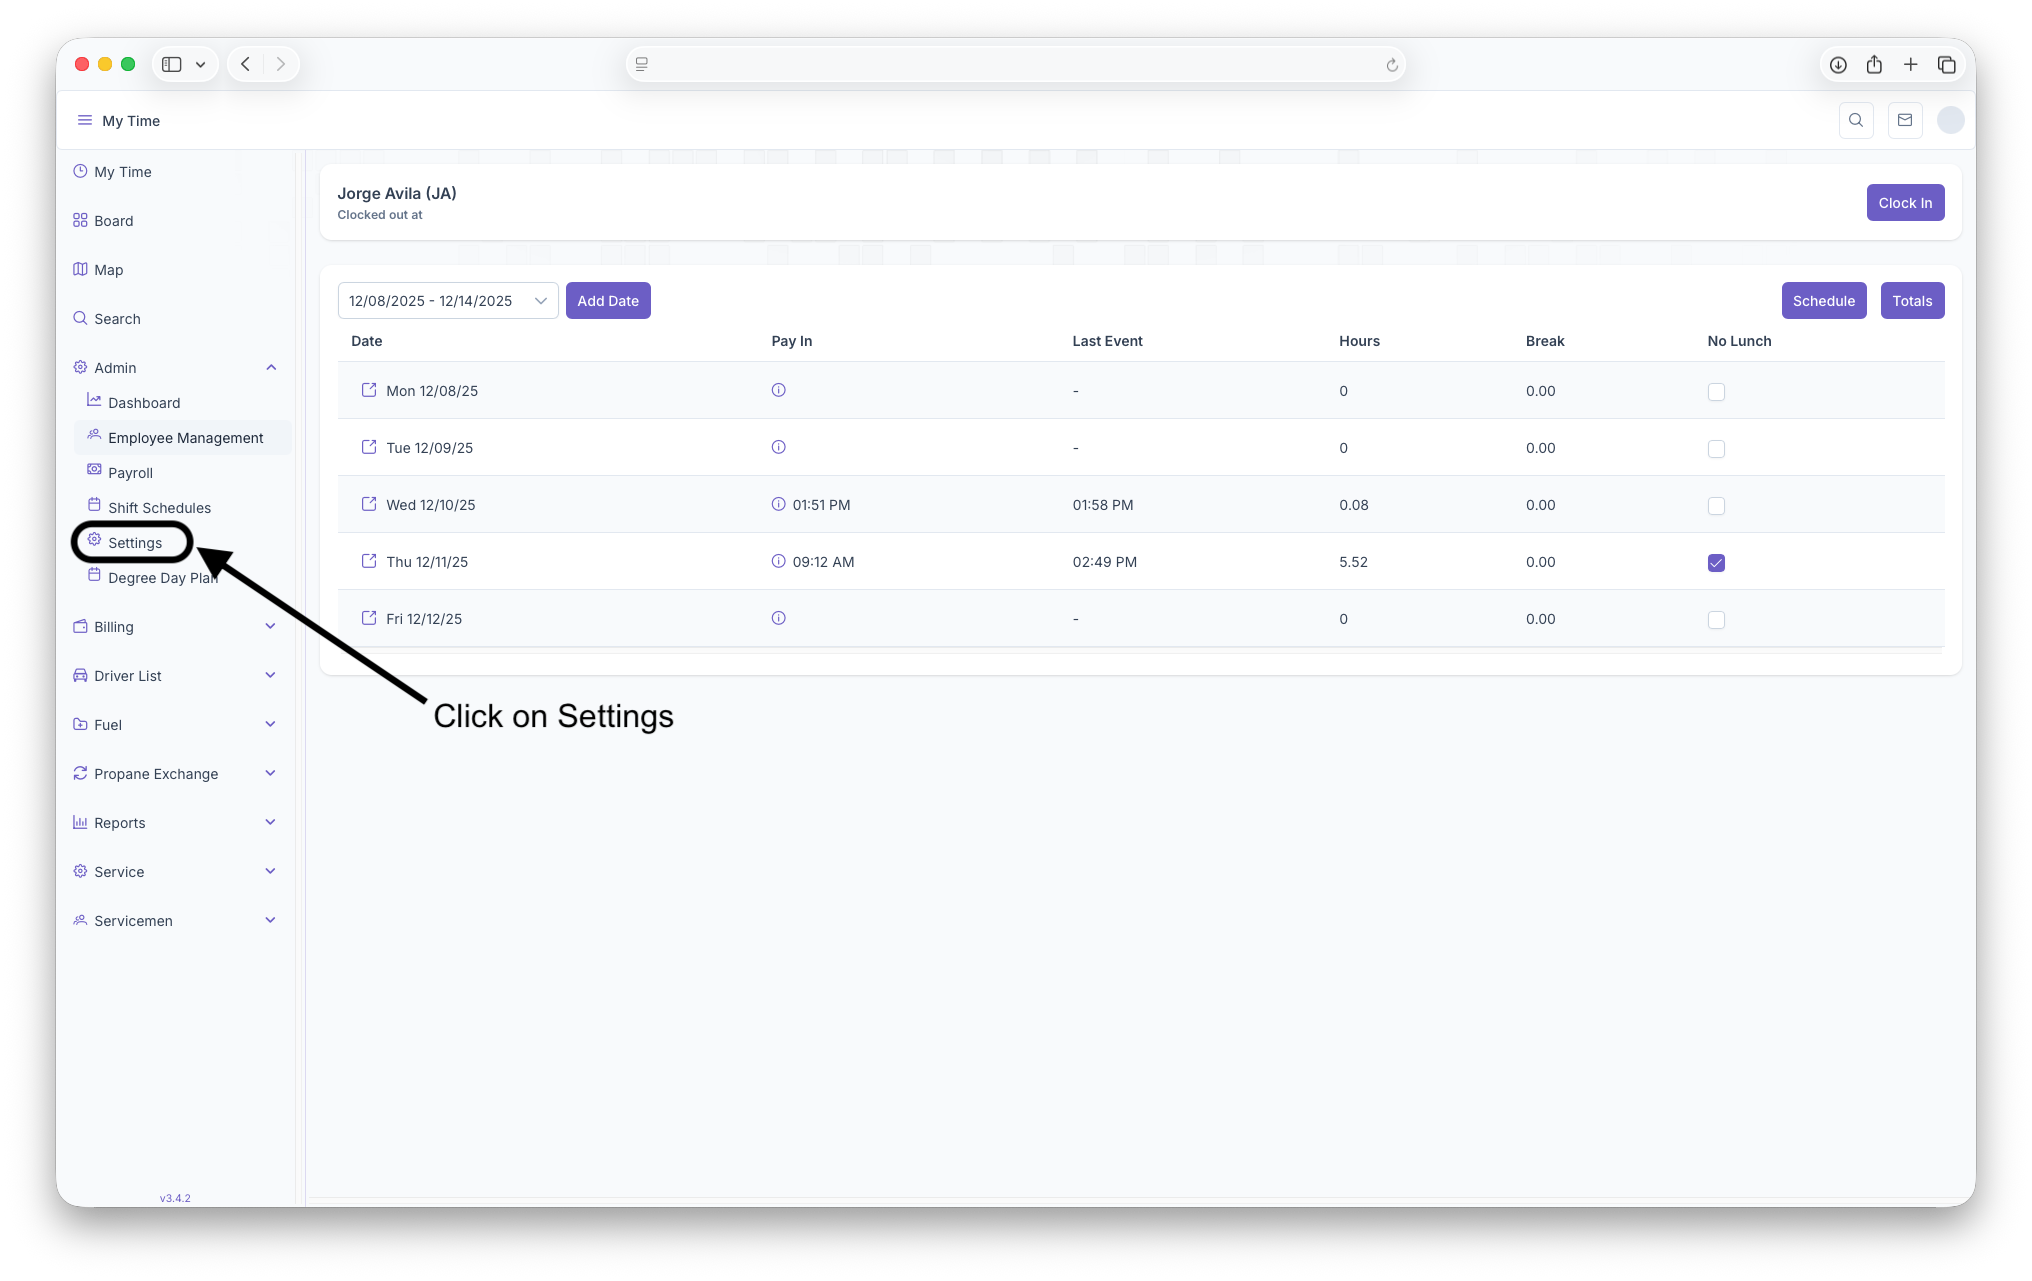
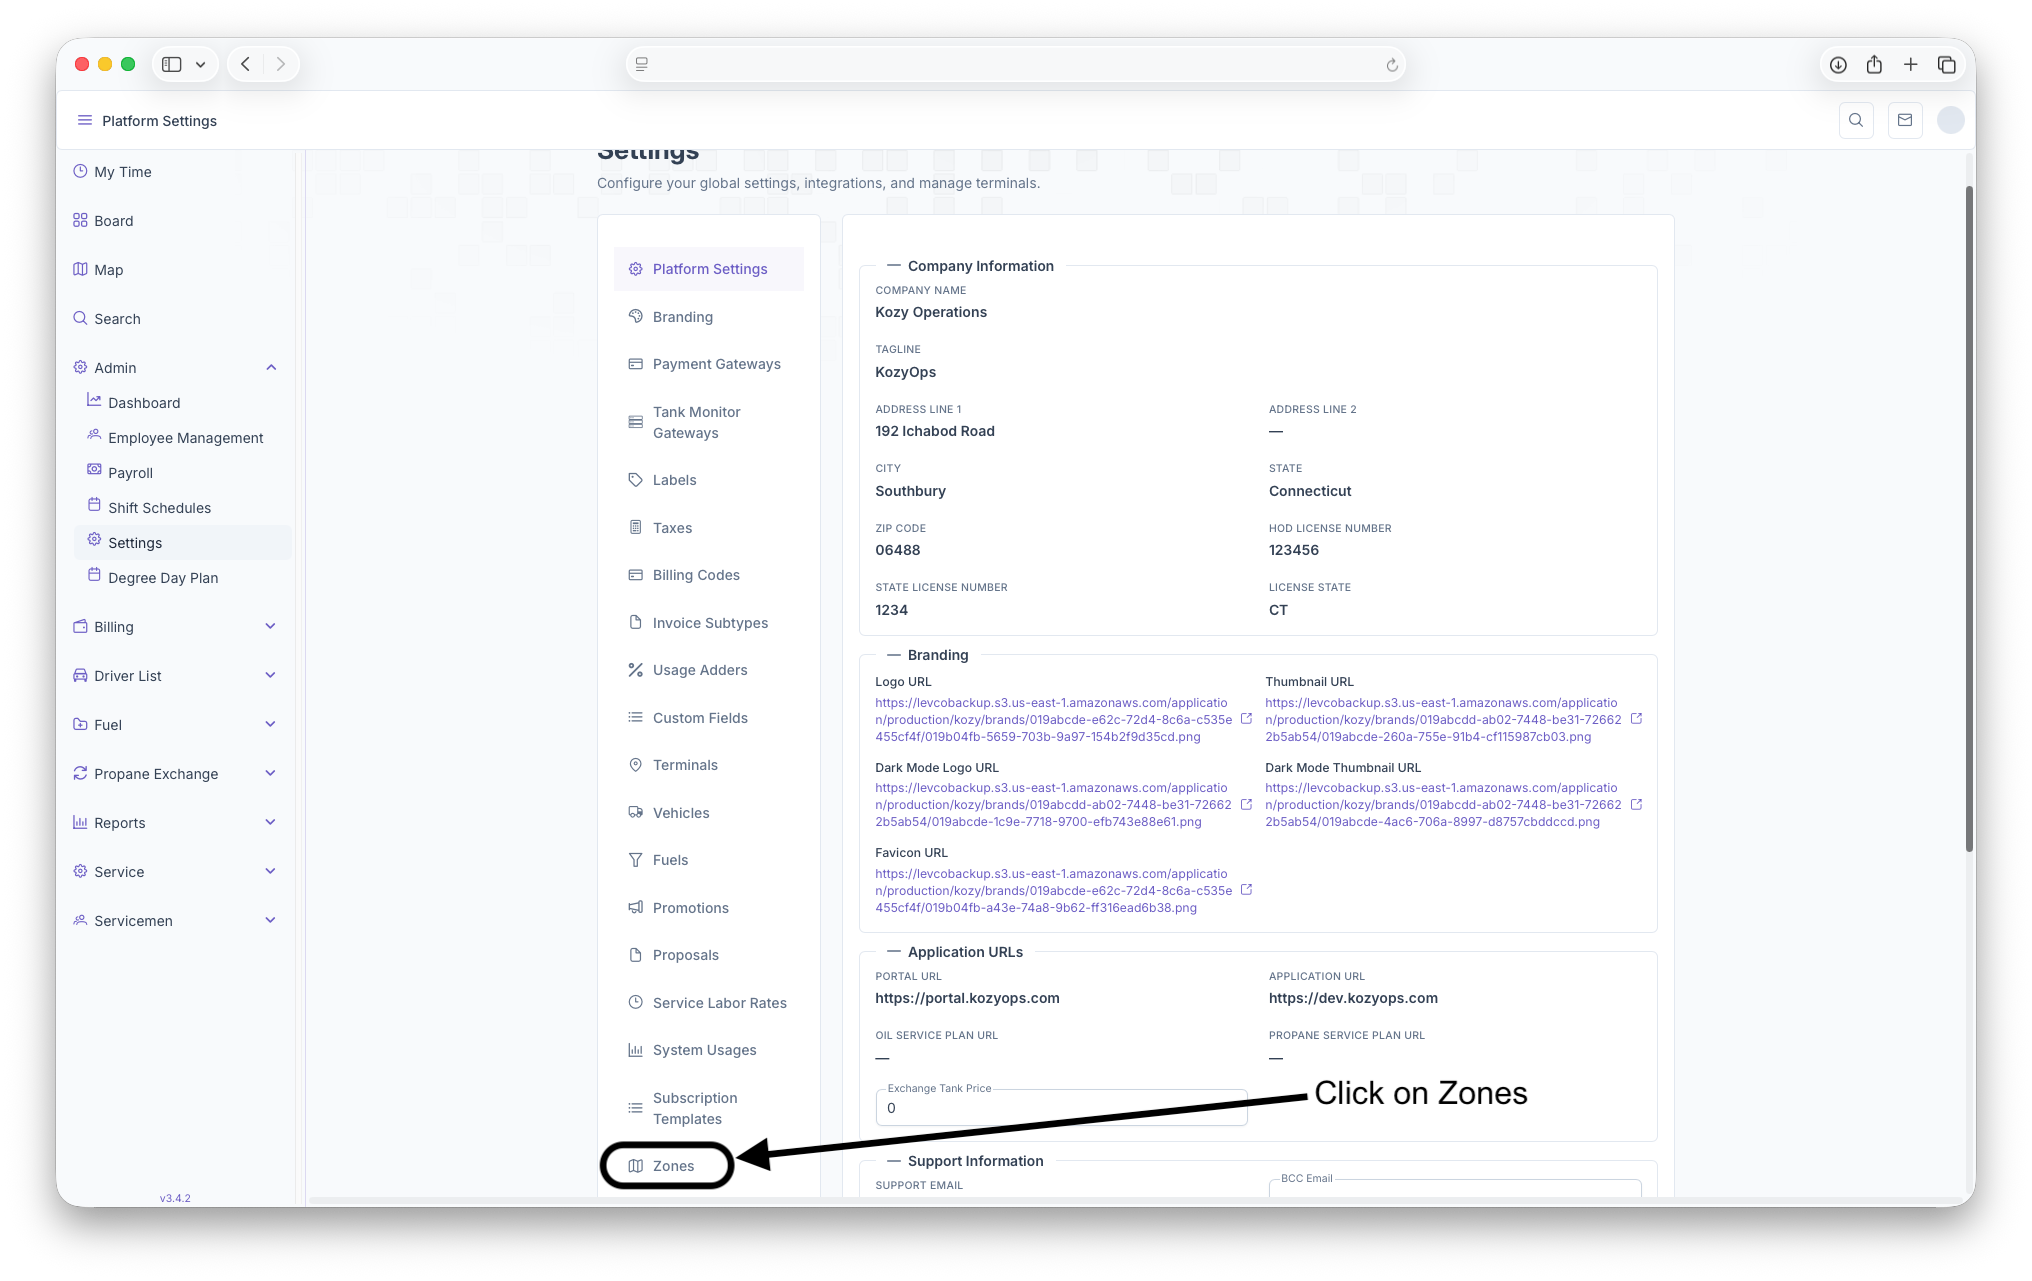
The Zones page is where Zones can be created to show locations that are covered under a specific zone umbrella. These Zones can range anywhere from being regional to what locations only use specific fuels. To reach the Zones page, click on Admin Dropdown on the side menu then click on Settings. Once on the settings page, scroll to the bottom of the page and click on Zones
Zones Page
Once on the Zones page, a list of zones already created will be generated. This list includes Name of The Zone, Description of the Zone, what Kind, when it became Active, when it became Inactive and any actions that can be taken on the Zone. Adding new Zones can also be done here
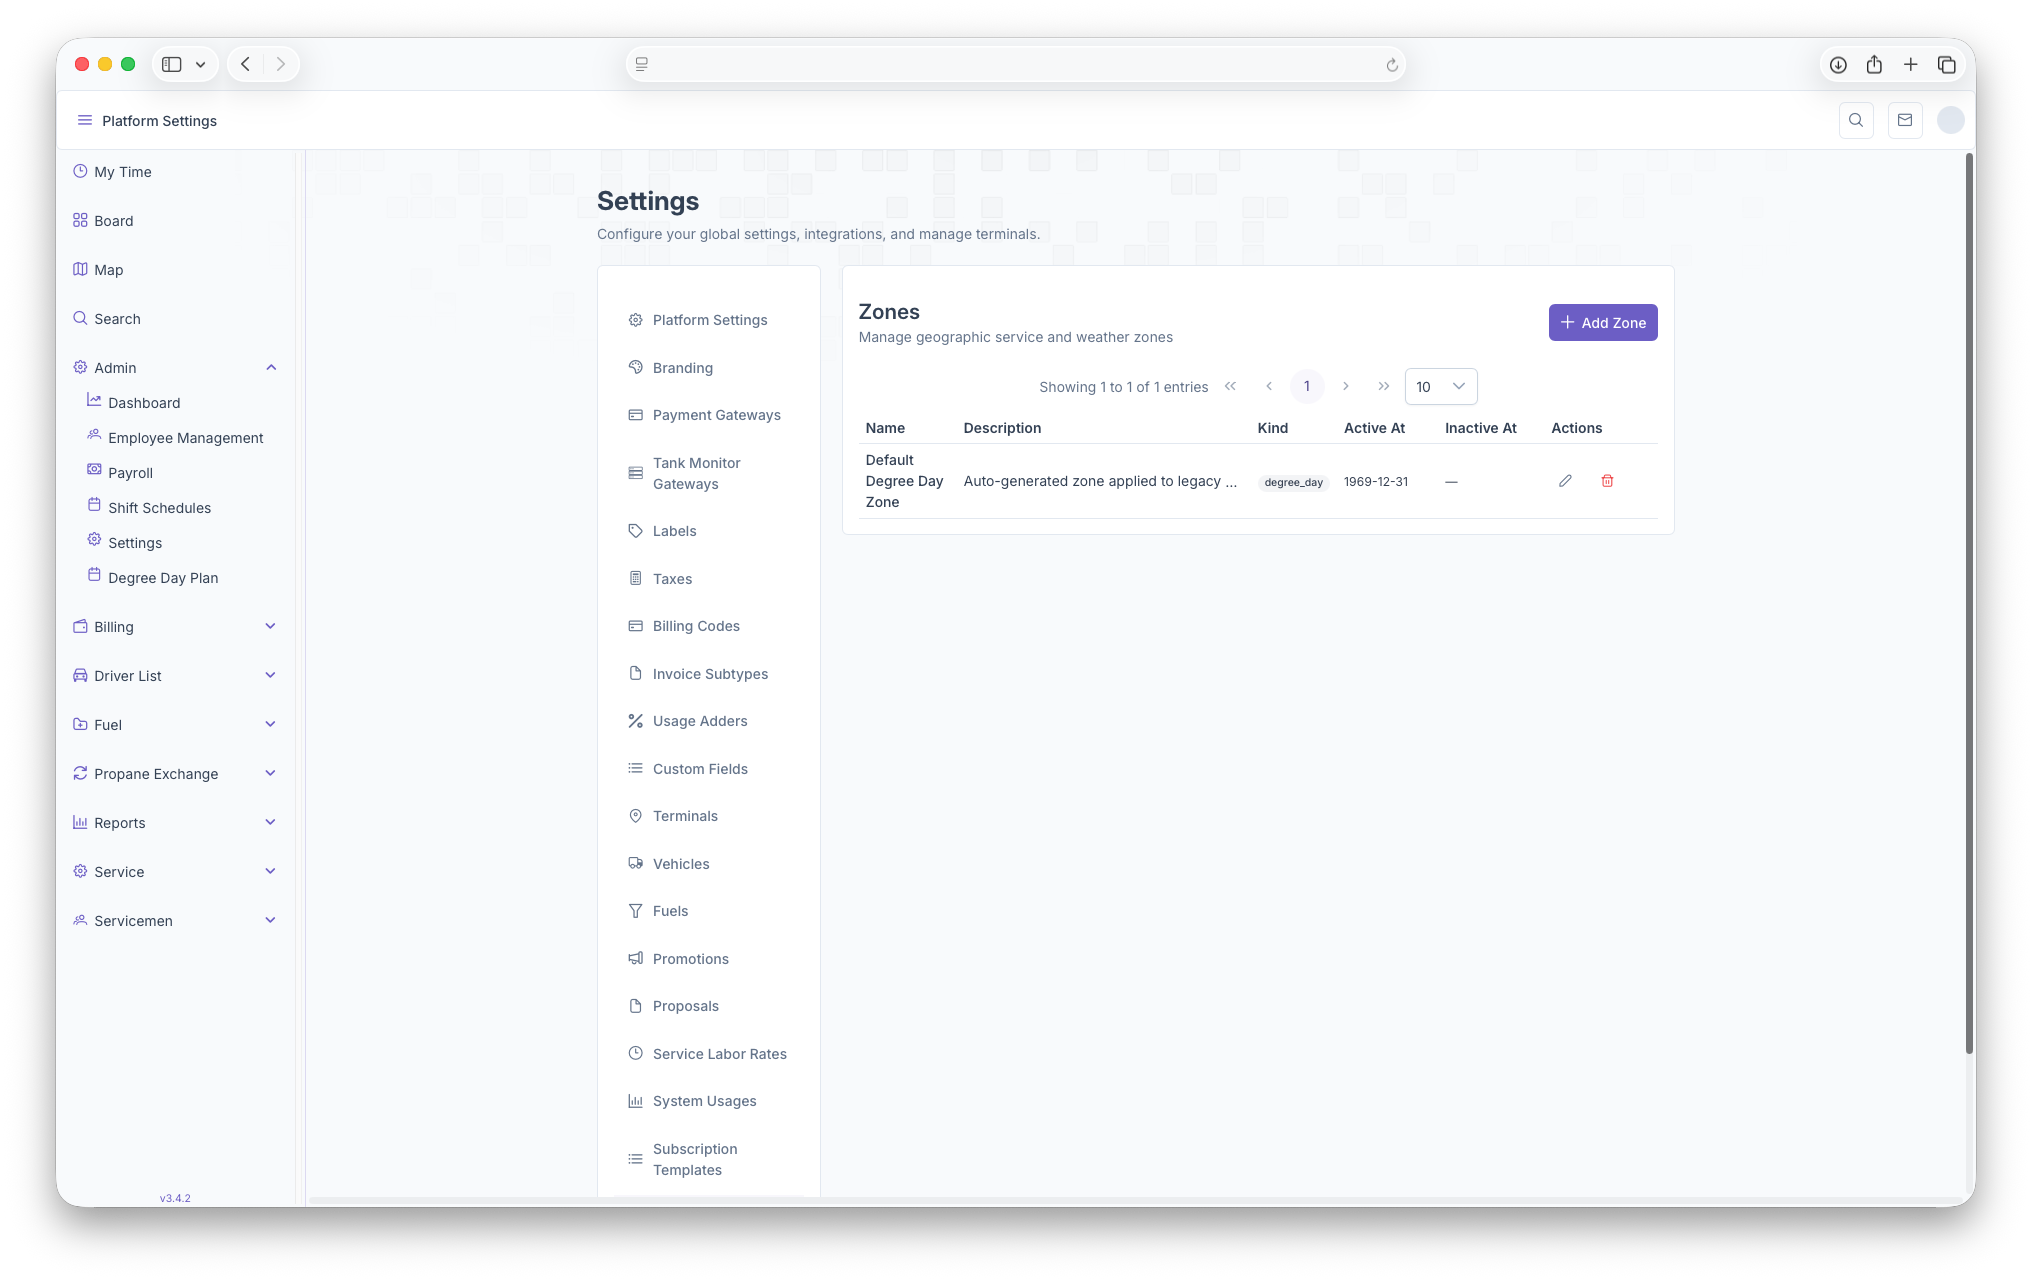
- Name: Shows the name of The Zone created
- Description: A brief description of the zone
- Kind: What Zone Type it is, such as Degree Day, Brand and Service
- Active At: When the zone became active
- Inactive At: When the zone became inactive
- Actions: Actions that can be taken on the zone such as editing or deleting
- +Add Zones: Clicking here will bring up the Add Zones page to add any additional Zones
Adding New Zones
- Clicking on the Add Zones button will bring up the Add Zones page. Some fields will then be generated that need to be filled out in order to create a Zone
- Zone Name
- Description
- Zone Type: Dregree Day, Brand or Service
- Zone Color
- A City or Zip Code search which will auto create a zone (This can be adjusted, see below)
- After filling out those fields, next will be creating the zone itself on the map. Note that if a zip code or city are selected, a zone will be auto generated, this zone can be edited
- Toggle the Free Drawing Mode to on
- From here selecet points on the map to create lines until a general shap is formed to indicate that zone
- All the points can then be dragged by clicking on them, holding down the click and then dragging to desired loaction
- The Auto generated zone can also be edited by following the previous step
- once desried zone is created, a Weather Location Marker must be placed on the map by by toggling on the Weather Location Mode and clicking on the map.
- Once on the map, the marker can be dragged based on what weather loaction should be tied to the zone created
- Once that's all finished, Zone coordinates will be generated to shows all coordinates for every point placed on the map. Once everything is filled out and looks satisfactory, clicking on the Save Zone button will save the zone. Clicking on the Clear Polygon button will clear the ploygon to start over again and clicking Close will close the window, deleting any information that was filled out.
Editing a Zone
In order to edit a zone, when on the Zones page, click on the edit button which will be under actions in a zone row. Clicking on the edit button will bring up the Edit Zones Page. The page is the same as the Add Zones page from above with the exception of the fields already being filled out. All of the information can then be edited including changing the zone polygon. After edits are complete, clicking on Save Zone will save all the edits made to the Zones. Clicking on Clear Polygon will clear the previous zone polygon if a new one needs to be generated and clicking on Close will close the window and no edits will be saved