Branding
Brands
The Branding page is where brands can be created for the company or for multiple companies if the owned under their belt. Branding is used to show The Companies Logo and Name, which are shown when sending emails or giving invoices to customers. To reach the Branding page click on the Admin Dropdown, then click on settings. Once on the Settings page, click on the Branding tab to open the page. Clicking on the three bars on the top left corner of the page will expand the side menu showing more detail for easier navigation
Branding Page
The page displays with any brands that have already been created and shows The Brand, Status, Support, when it was last Updated and actions that can be taken on the brand. New Brands can also be added here as well.
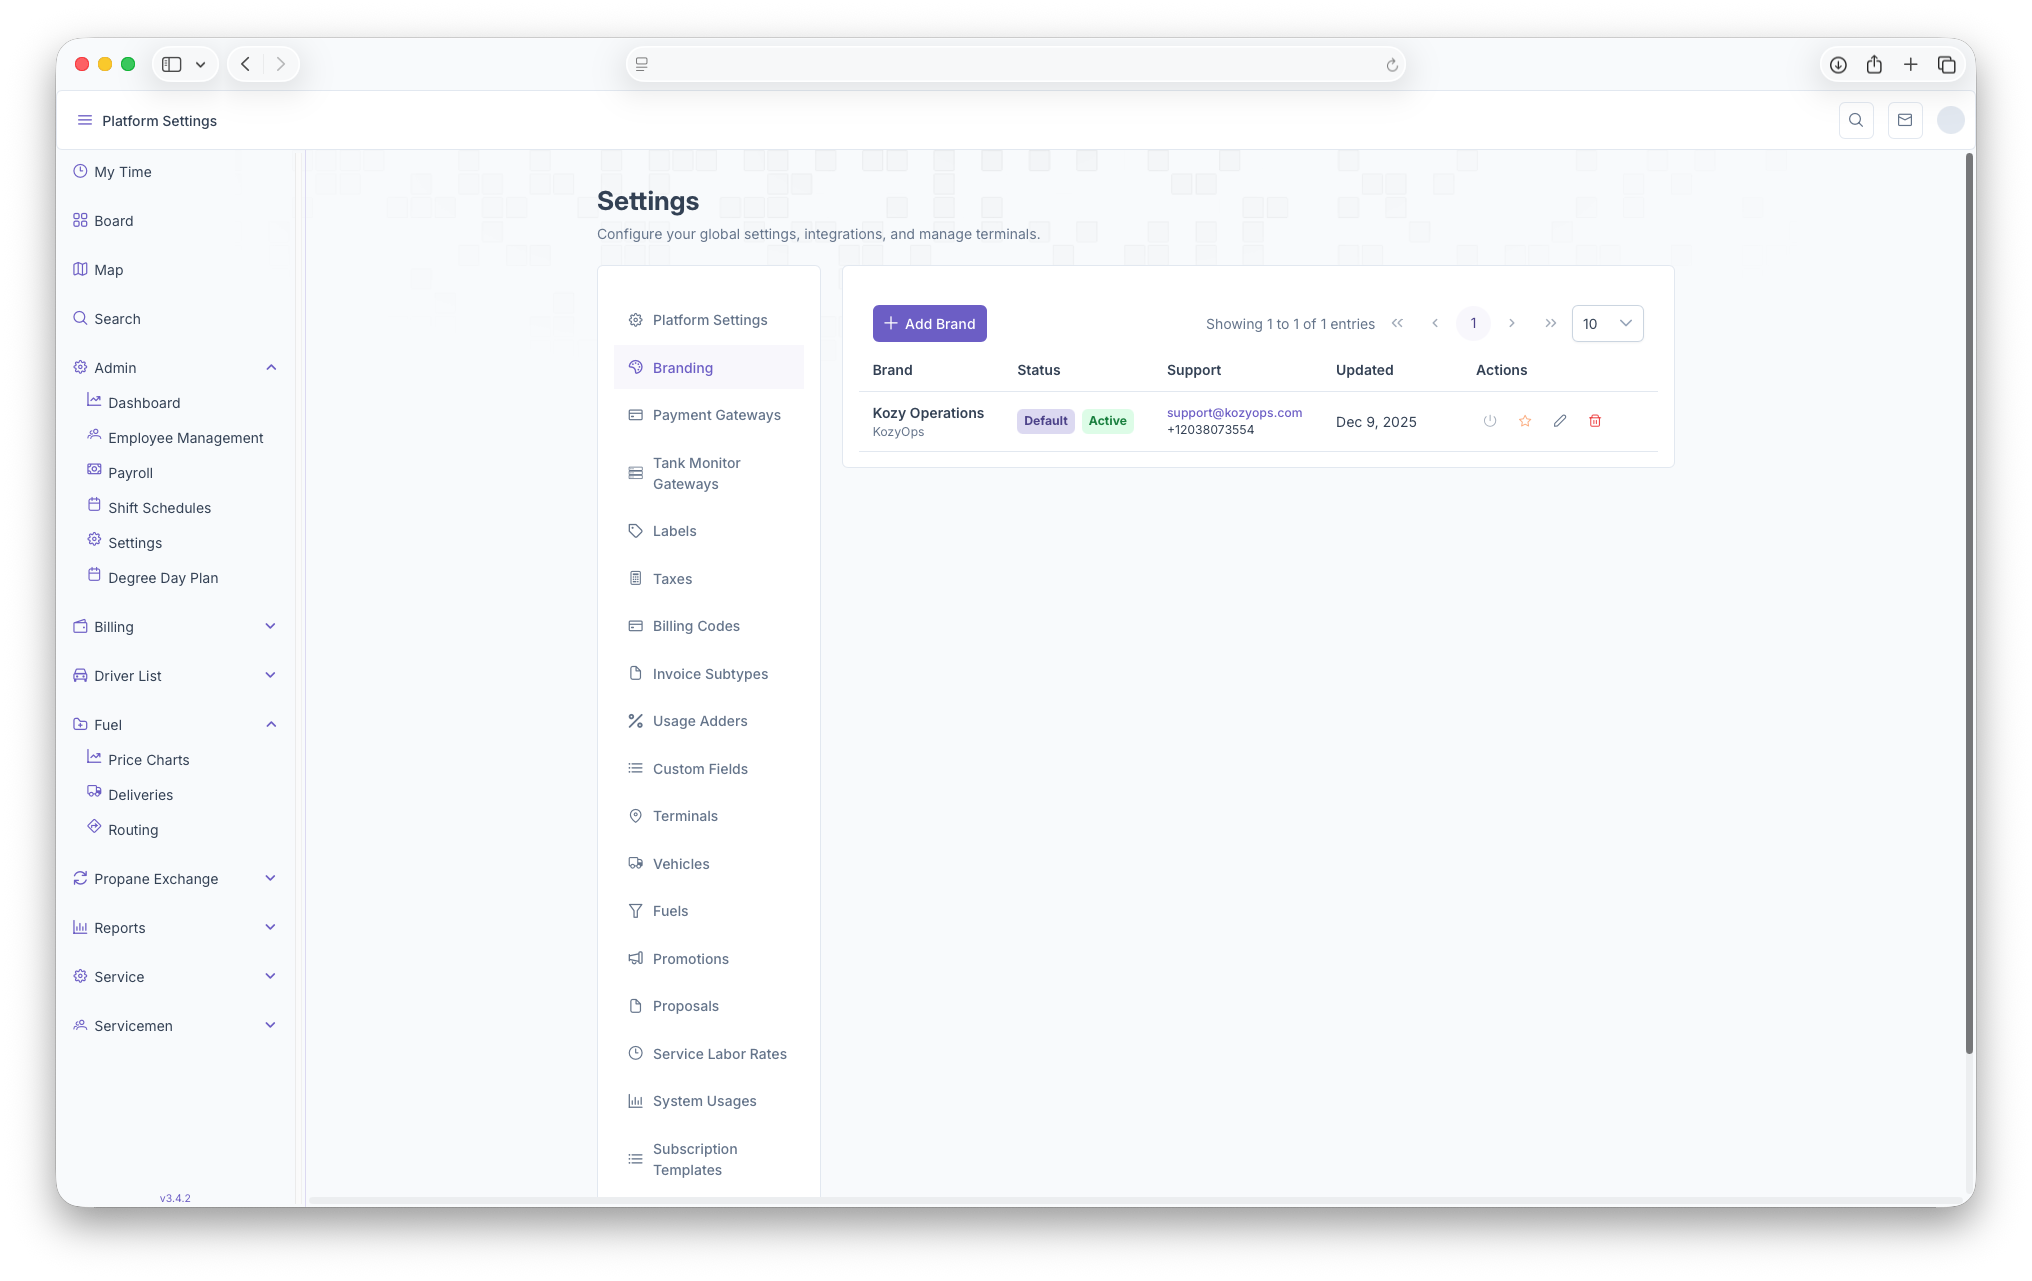
- Brand: The Name of The Company and be seen here
- Status: What the status of the brand is, whether it's active or if it's the current default brand of the company
- Support: Provides and Email and Phone number in order to reach out to if any support is needed
- Updated: Shows when the brand was last updated
- Actions: Here an Account can be activated or deactivated, can be made the default brand, can be edited or can just be deleted
- +Add Brand: Clicking on Add Brand gives the option to add a brand, see below for more detail.
Adding a brand
Clicking on the +Add Brand button brings up the add brand page if any brands need to be added. The page can then be filled with all the information needed in order to create a brand for the company. The Following fields will then appear to be filled out
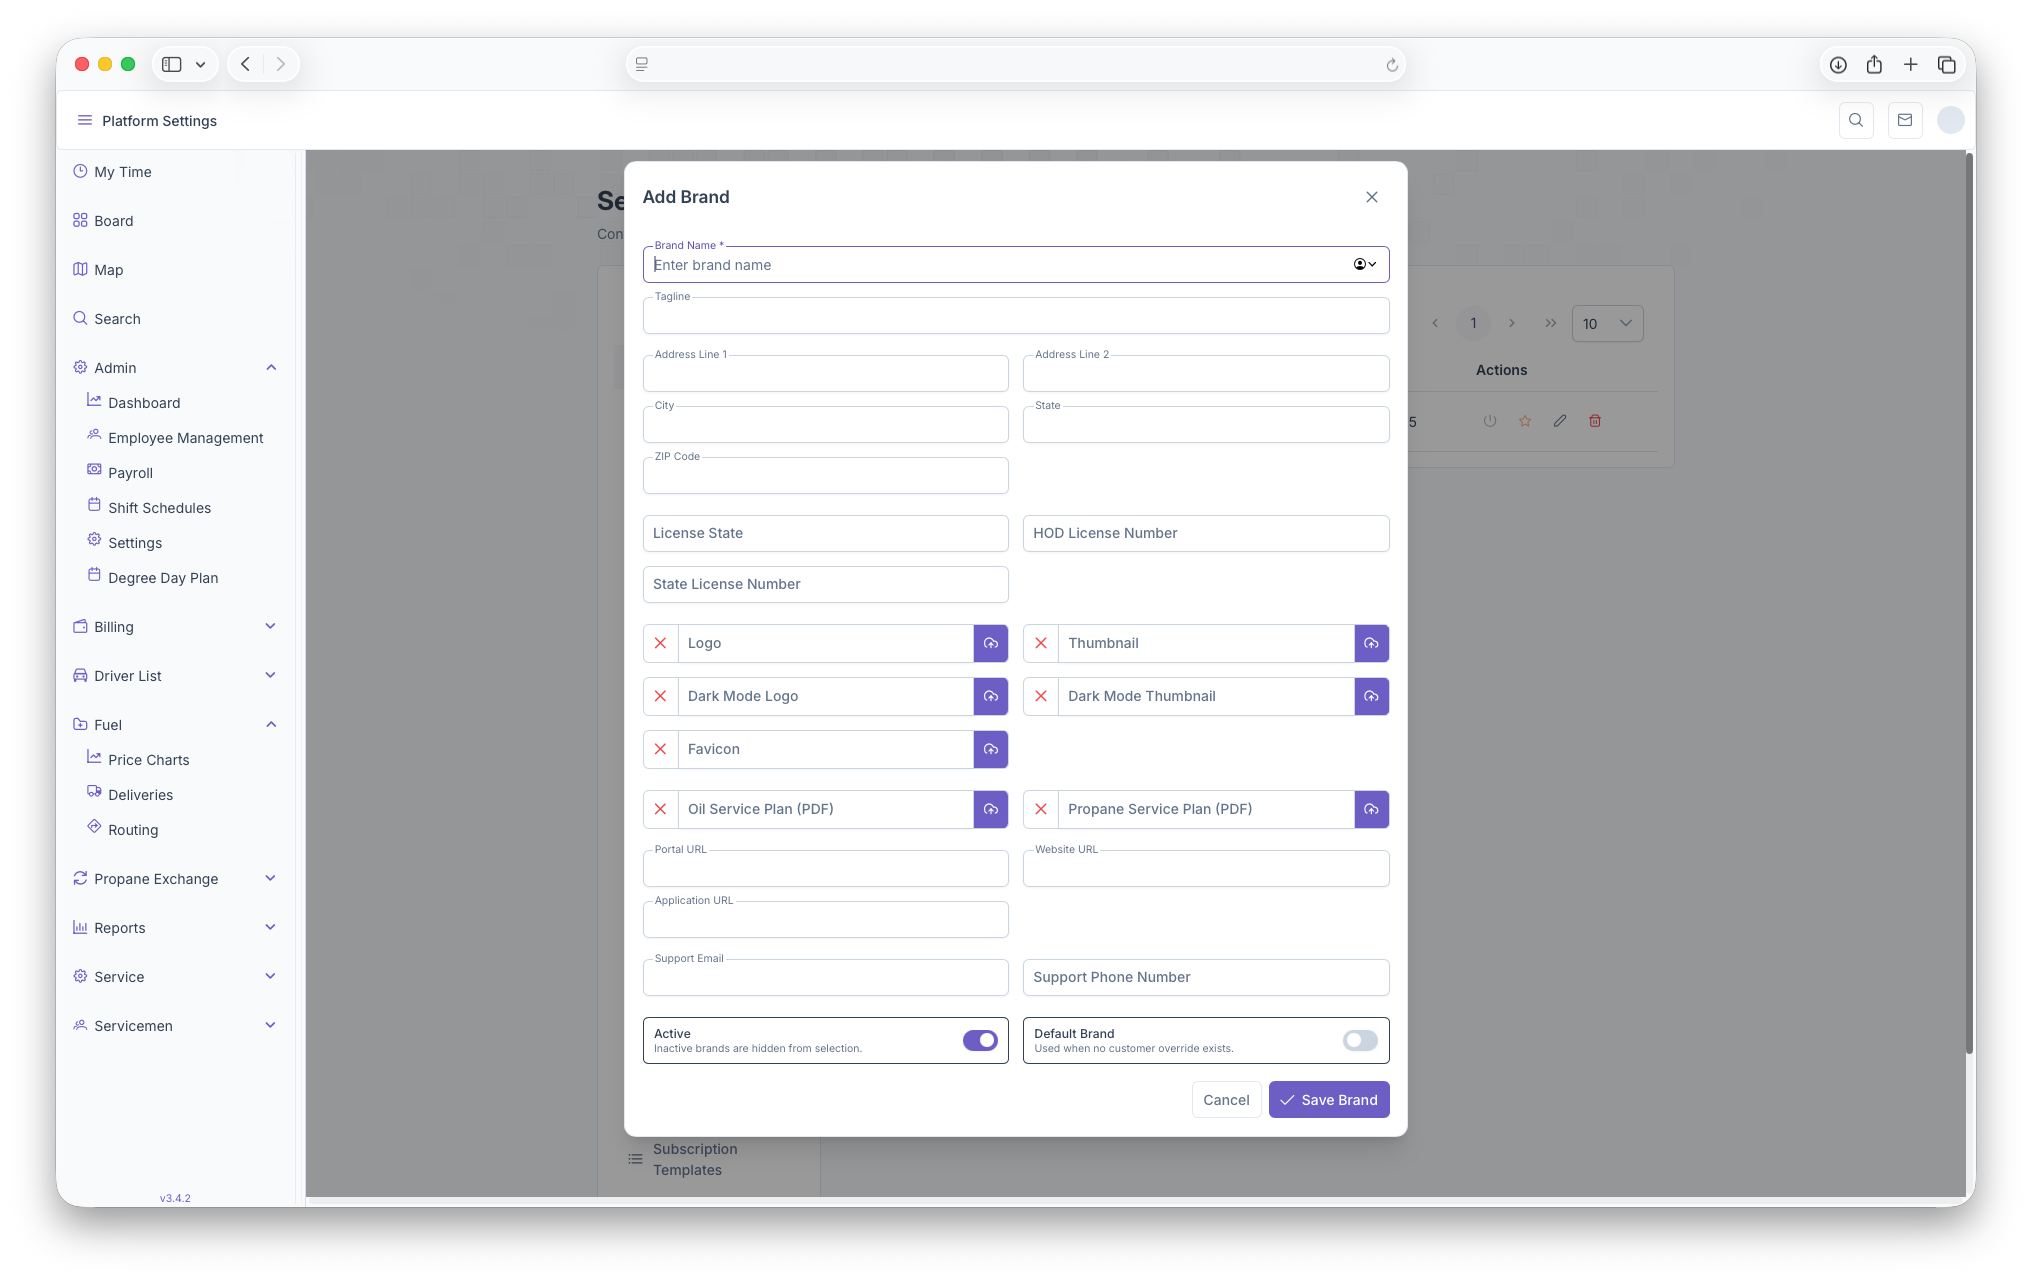
- Brand Name
- Tagline
- Address Line 1
- Address Line 2
- City
- State
- Zip
- License State
- HOD License Number
- State License Number
- Images can then be added for the Logo, Dark Mode Logo, Favicon, Thumbnail and Dark Mode Thumbnail
- Any oil and/or Service Plan PDF's
- The Portal URL
- Website URL
- Application URL
- Support Email and Phone Number
- Can toggle wether Active/Inactive and if it's the Default Brand or not
Once finished filling out the information, clicking on the Save Brand button will now upload the new brand for the company's use. Clicking cancel will close out the page and any information put in will be deleted.
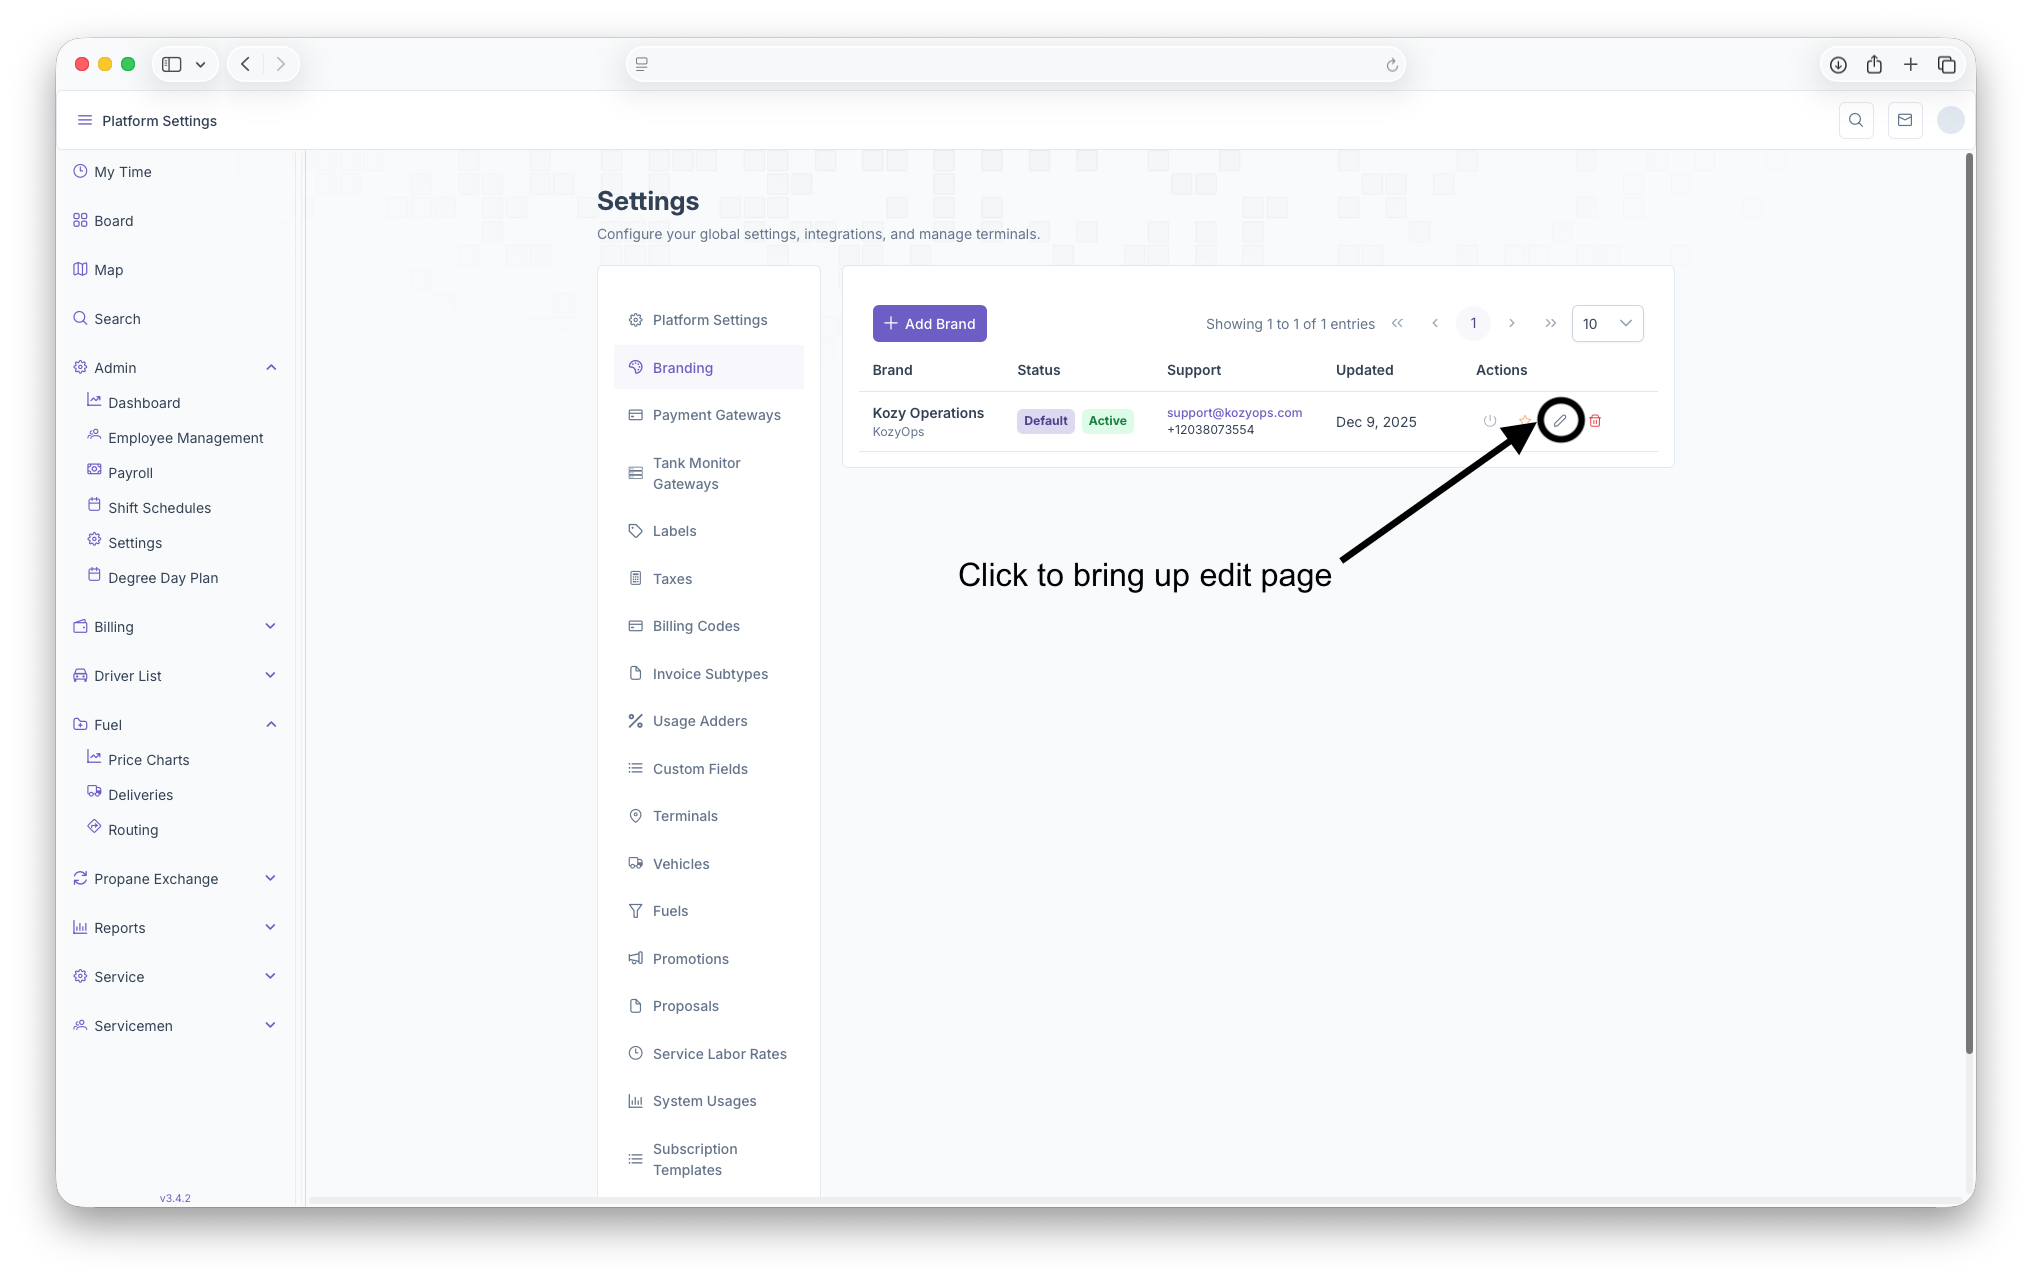
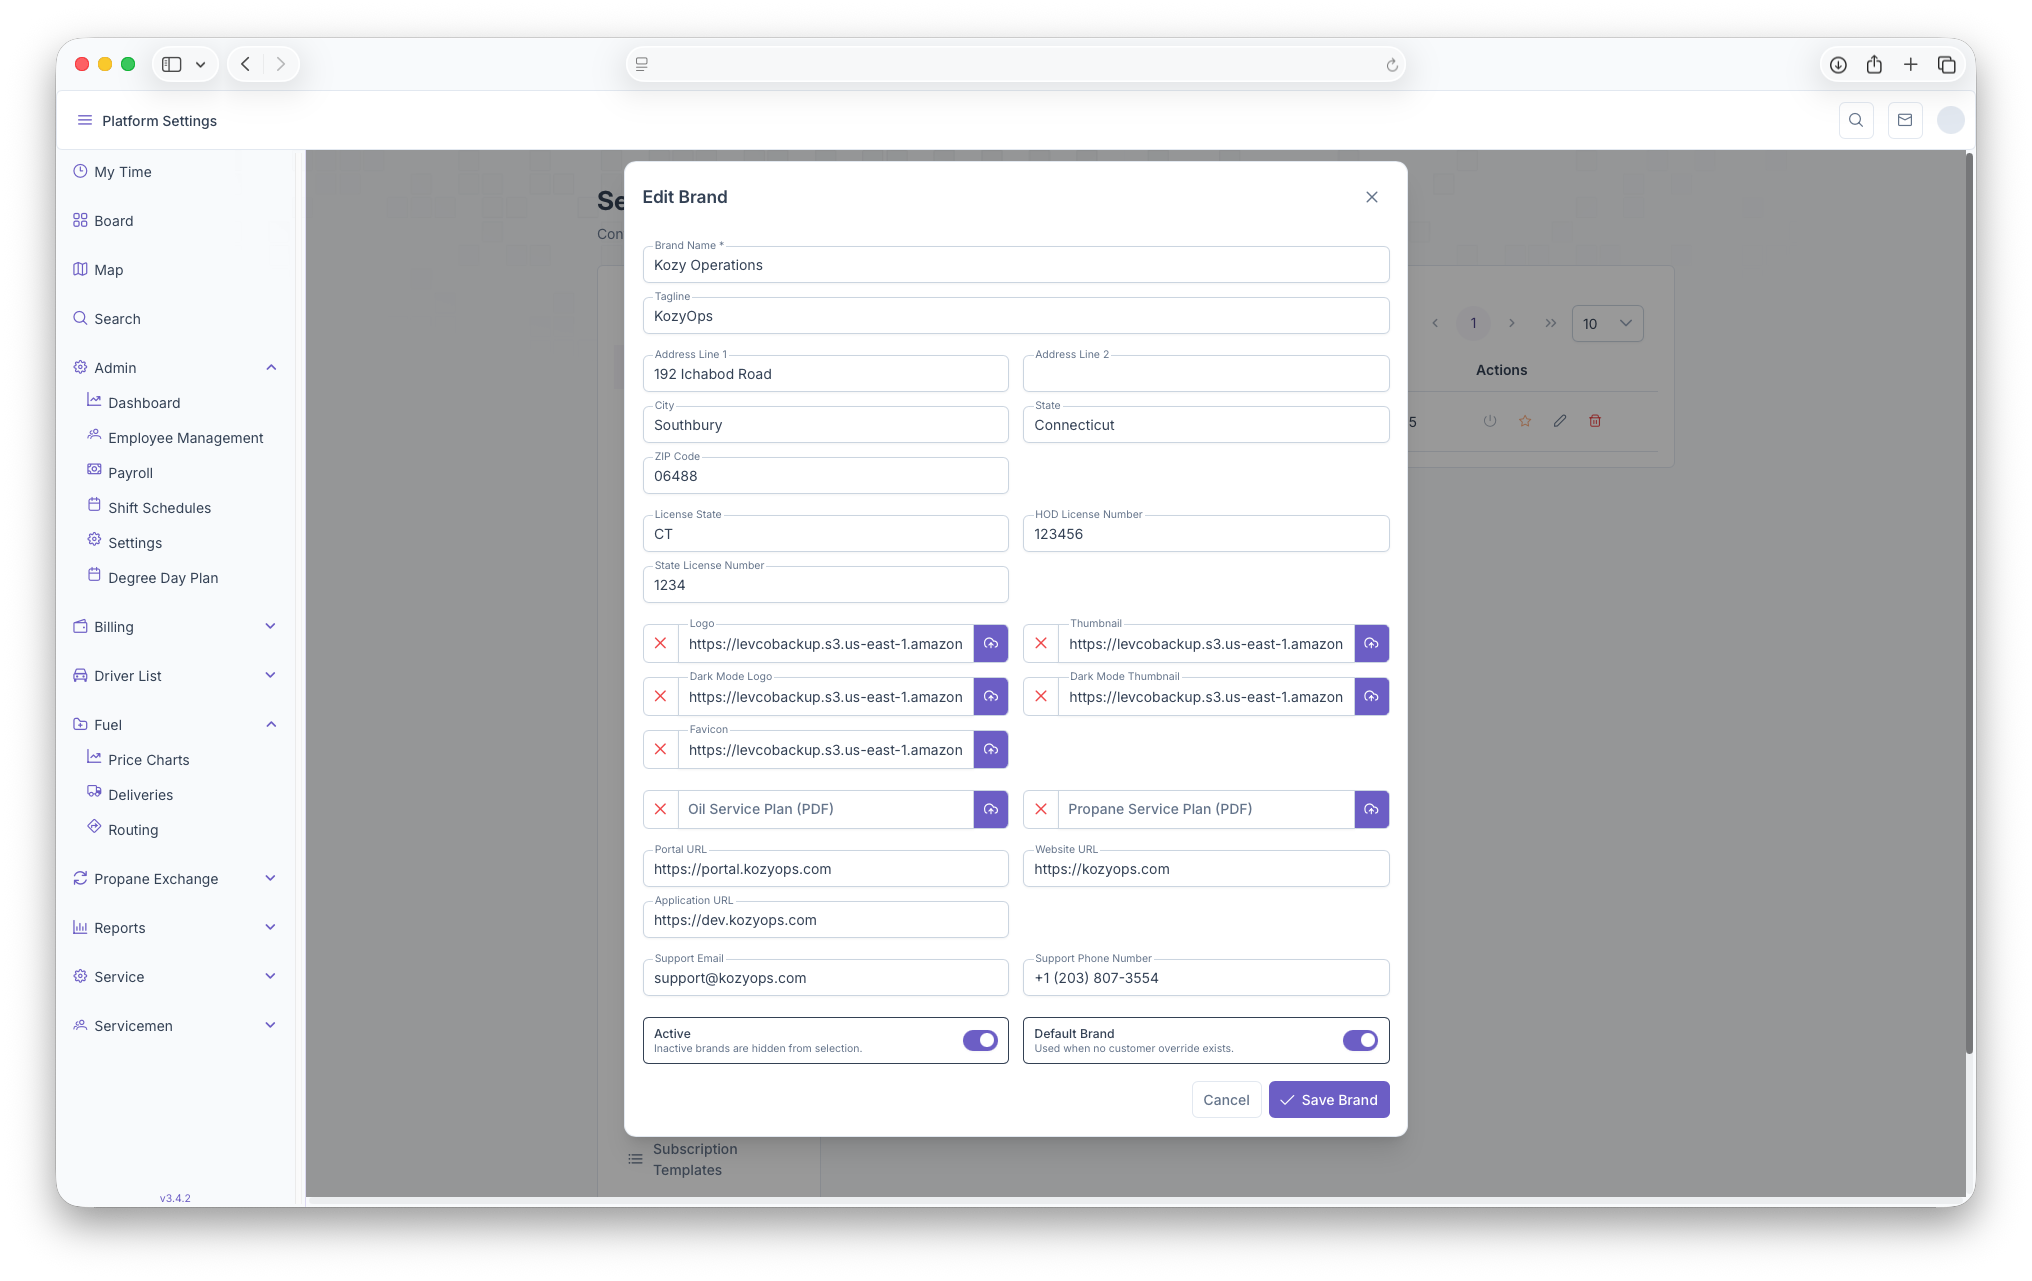
Editing a Brand
To edit a brand, click on the edit button in the brand row in order to make any changes neccessary. The Edit page will pop up and look just like the Add Brand page, only with the fields already filled out. From here any changes can be made to the brand and saved by clicking on the Save Brand button. Hitting cancel will close the page and undo any changes that were made to the page